Tuesday Project Roundup: Last Of The Block Prints

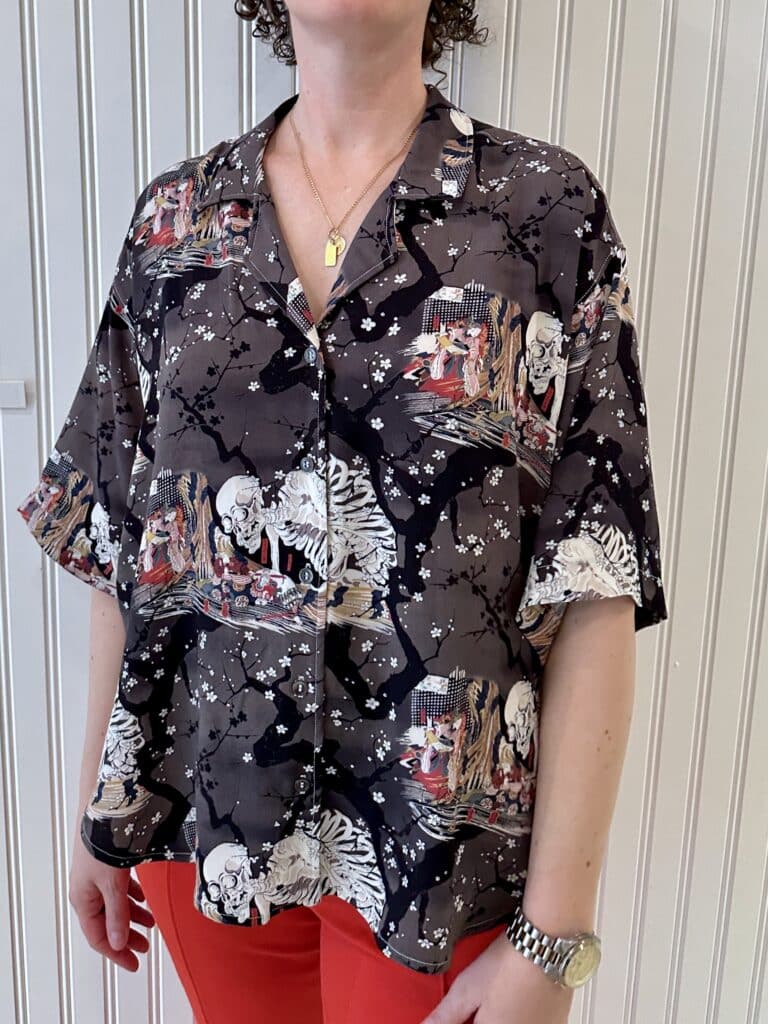
It’s been an unseasonably warm fall so these summery block prints still feel appropriate. This is the last cut of the three I ordered and it was destined to be a shirt for Doc (so I could wear my blue tiger dress with it and we could attract comment, if we go out somewhere).

This is the staple aloha shirt pattern I use for him, New Look 6197. I mixed things up and used the Daughter Judy Genra Shirt instructions for the facings, which involve sewing them into the shoulder seam first for a really clean finish–a vast improvement over the New Look instructions.

This was a fast, straightforward project. It’s fun to work with these prints–look at all the fierce tigers staring at you!

Tuesday Project Roundup: Kaftan!

Reader, fabric choice makes such a difference: The Bonnet Shirt/Dress in a shirting was stuffy and nightshirty. The Bonnet in a tiger block print? Desert Aunt Kaftan Time!

I don’t usually make a pattern three times in a row but apparently I really like this one. The sleeve details are nice and the band collar makes it fast (the collar/placket reminds me of a J. Peterman linen shirt I had in high school; I’ll try to dig up a picture).


I was a little worried about making a dress, since I haven’t worn one in years but because this is a KAFTAN it’s easy to just throw on and walk around in.

Tuesday Project Roundup: The Most Karen Fabric There Ever Was

I’ve been sewing up the block print fabrics I found on Etsy into Bonnet Shirts/Dresses and this fabric in particular brought me so much joy.


It is pink! AND orange! At the same time! AND has fierce tigers all over it! Perfect for all your Desert Aunt wardrobe needs; that tunic length will also be ideal for a swim coverup.


The fabric is also really forgiving to sew–it’s not a tight or fine weave so things just relax with steam, and it doesn’t get the wear creases that a real shirting fabric does. Naturally, I want to buy even MORE of it. (I don’t need more fabric.) (Put that on my headstone.)

Tuesday Project Roundup: Hiking (Climbing) Pants

Since shorts season is ending, I thought I’d make some hiking pants. But every pattern I was seeing didn’t seem high-waisted enough to be comfortable with my hip pack. Then I remembered the splash that the Leila Makes Topo Pants made–Leila has a huge Instagram following and released her first pattern for a pair of climbing pants last year. The pattern said it was high-waisted to work under a climbing harness. Boom! Pants pattern acquired.


The pattern has some nice details, like a double front with knee darts, and the drafting was fine. She’s selling these as unisex, though, so I made the recommended full seat adjustment just by guessing how much my seat would need. The elastic at the ankles seemed like a weird insertion method and the instructions could have been tighter, but overall it wasn’t too amateur of a pattern.

I made these in a technical stretch woven (Eddie Bauer for Joann) and did not size down as the pattern recommended, so they’re baggy. But I don’t mind; I’ll probably grow into them as I keep squatting and I can throw a base layer under these pretty easily.


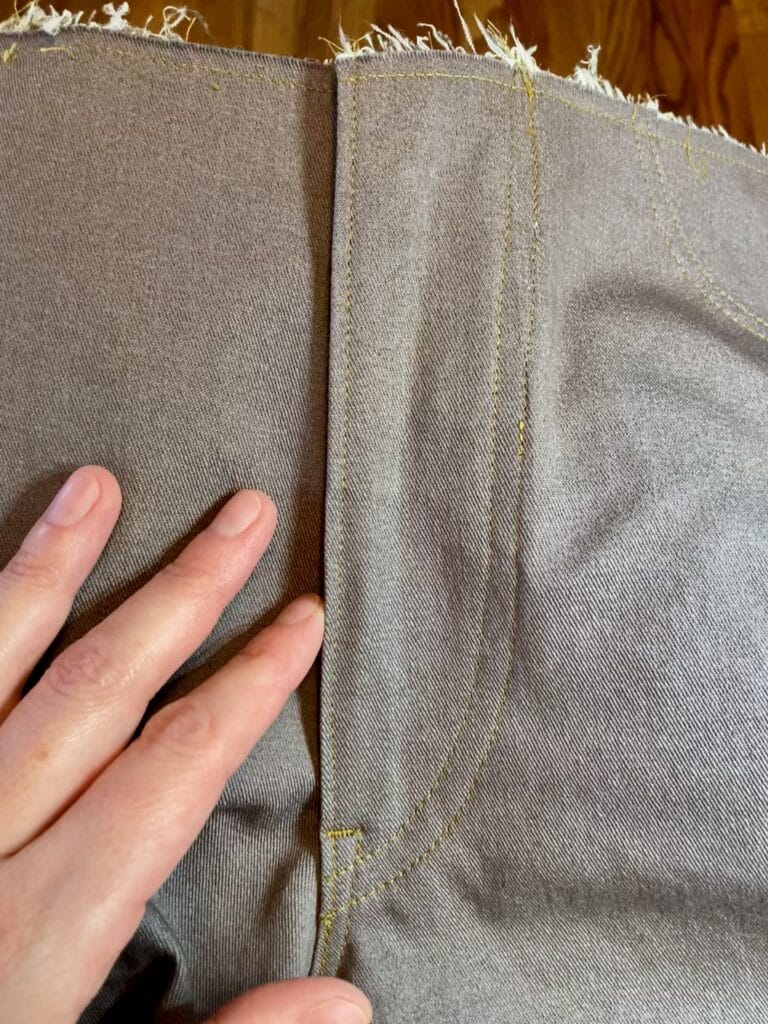
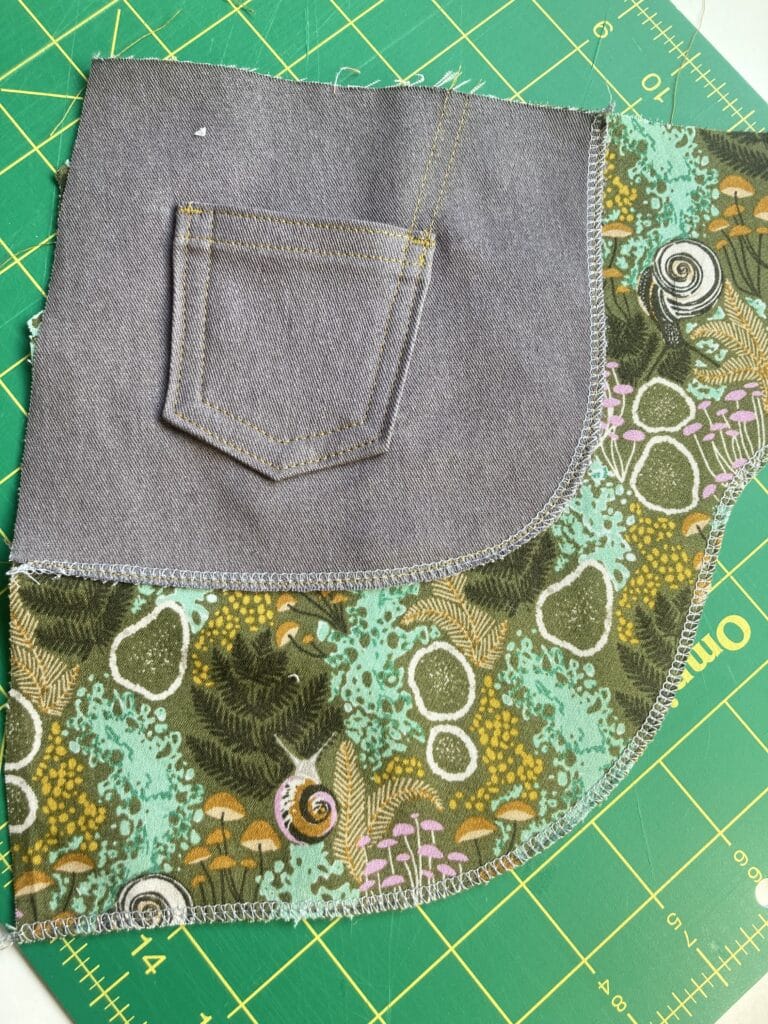
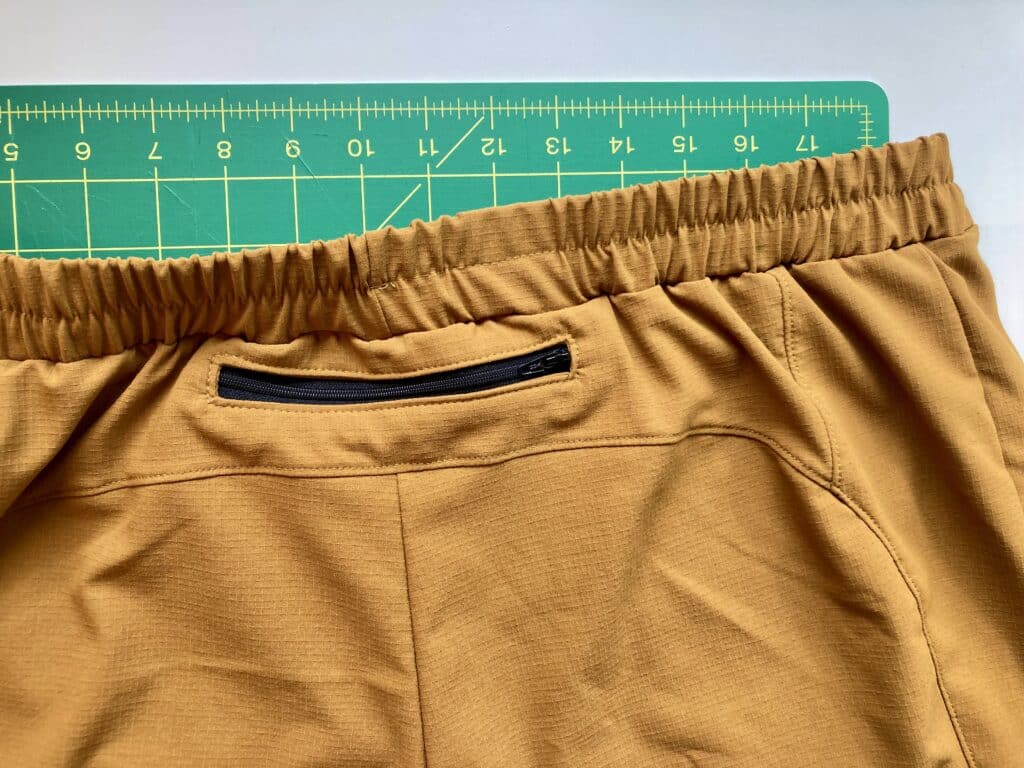
The pockets included in the pattern are unequivocally great, though: two deep front pockets plus as many holster pockets as you want to add (I made two and put velcro on one). I also added a zip pocket into the yoke seam, which was pretty easy to figure out. (You lose your ID in a lake one time and you put a secure zip pocket for ID ONLY on every pair of pants thereafter.)


And they’re definitely high-waisted enough to be comfy with my packs, so all in all a successful project. Plus I have some pants if I ever want to try climbing.

Tuesday Project Roundup: More Survival Gear

When I was ordering waterproof zippers for my pack from Ripstop By The Roll, I threw in a couple rain poncho kits, too. Doc has a rain shell but I don’t, but I was also thinking about coverage for our legs and packs. Ponchos were the answer.


I finished mine first since I still had orange thread in the machine from my pack. The kit had all the hardware and pre-cut fabric so it was a fast sew. It even includes a rectangle to make a stuff sack for it!


The instructions say you can add tie loops to the hem to use this as a ground sheet or tarp in a pinch. (Prepared for every eventuality? YES.) I skipped hemming the sides since the fabric was silicon-impregnated and didn’t seem like it was going to fray, but added two KAM snaps on the sides under the arms and used grosgrain tie loops as the snap reinforcements.

I’ll get Doc’s sewn up next and then we’ll have two ponchos, or one ground sheet to sit on and one tarp to keep the rain off. JUST IN CASE.

Tuesday Project Roundup: So Many Pack Pictures

This might be one of my favorite projects, right up there with the winter coats I’ve made–I guess I like sewing functional things with lots of different pieces.

This is the Stitchback MP, described thusly: “The Stitchback Mountain Patrol or ‘MP’ is a panel loading backpack with a removable back pocket. The large zippered openings make organizing and accessing your gear easy. A volume of approximately 30 liters, makes it suited to gear intensive day-long excursions or even ultralight overnight trips.”


I didn’t use all ultralight materials BUT I also didn’t have to buy any fabric for this–just foam, spacer mesh, zippers, and hardware. (I’ve linked all the sources at the end of the post.)

I followed the pattern nearly exactly; the only changes I made were to add a slip in pocket behind the water bottle holders (seen above) and add one ribbon loop to hold a G hook to suspend the hydration bladder and two others to hold an accessory pocket (another Stitchback pattern, but not one that came with the pack):


You can tell I started getting fancy with this when I put my sewing label on the accessory pocket. I also decided to do a decorative stitch of a pine tree on the back spacer mesh, and at the very end I looked up how to make paracord zipper pulls because why not?


And the MAP POCKET? The entire reason for this pack? It holds a map! And the smaller divider also holds a compass, plus a bunch of other stuff.

Honestly, this is a giant pack; I could fit cold weather gear and rain gear and lunch and dinner in here and not fill it all the way. But that’s exactly what I wanted–it only takes being unprepared once to never let that happen again.

Despite sewing through the trauma of almost getting lost, this was a delight to make (and reinforced what an awesome sewing machine I have). I can’t believe the pattern was only $10 because it’s one of the best I’ve seen in 35 years of sewing–highly, highly recommend. It was also fun to play with the colors and see what I had vs. what I needed to source. Which, speaking of…. here’s where everything was from:

Tuesday Project Roundup: VLKB (Very Large Knitting Bag)

I wanted something big and I made an airplane carry-on. ¯\_(ツ)_/¯ Thankfully, you can use the top drawstring to cinch it in to normal purse size.


And you can fold the top down so it’s more like a Very Large Knitting Basket.


And those pockets are big enough for a 40 ounce water bottle, a wallet, and all the knitting stuff:


This was a fast sew, even with adding piping to the outside seam (not in the instructions) and to the tops of the pockets (included in the instructions). The pattern even shows you how to add a key loop, which is a nice detail.

The finished bag is definitely big and not floppy (I used foam instead of fleece interfacing), so that’s exactly what I wanted. It’s obviously really functional for knitting, plus if I ever need to fly anywhere, I have my travel bag.

The details:

  • “Project Bag” pattern (English here) by SpringiDesign and B-Patterns
  • Outer fabric and lining from Harmony (they ship now!)
  • Hardware, foam stabilizer, piping, and webbing from stash
  • Drawstring and tiger label from Sewtopia


Tuesday Project Roundup: (Almost) Dry Bag

I made a dry bag last September from a kit but obviously never had a reason to use it–until we were scheduled for tubing. I, uh, happened to have another unsewn kit, this time in a Hiroshige print, so whipped it up so we each had a bag for snacks on the river.

The pros: Holds a tallboy beer and 3 different snacks, very appropriate print, is light and tough.

The cons: It’s not 100% waterproof. I think if I’d really rolled the top down tight and then didn’t touch it again, it would have done better. But considering Doc capsized and I hit the Bear River’s Great Wave, the few tablespoons of water I had to dump out of each wasn’t that bad.

Tuesday Project Roundup: Tiny Shorts

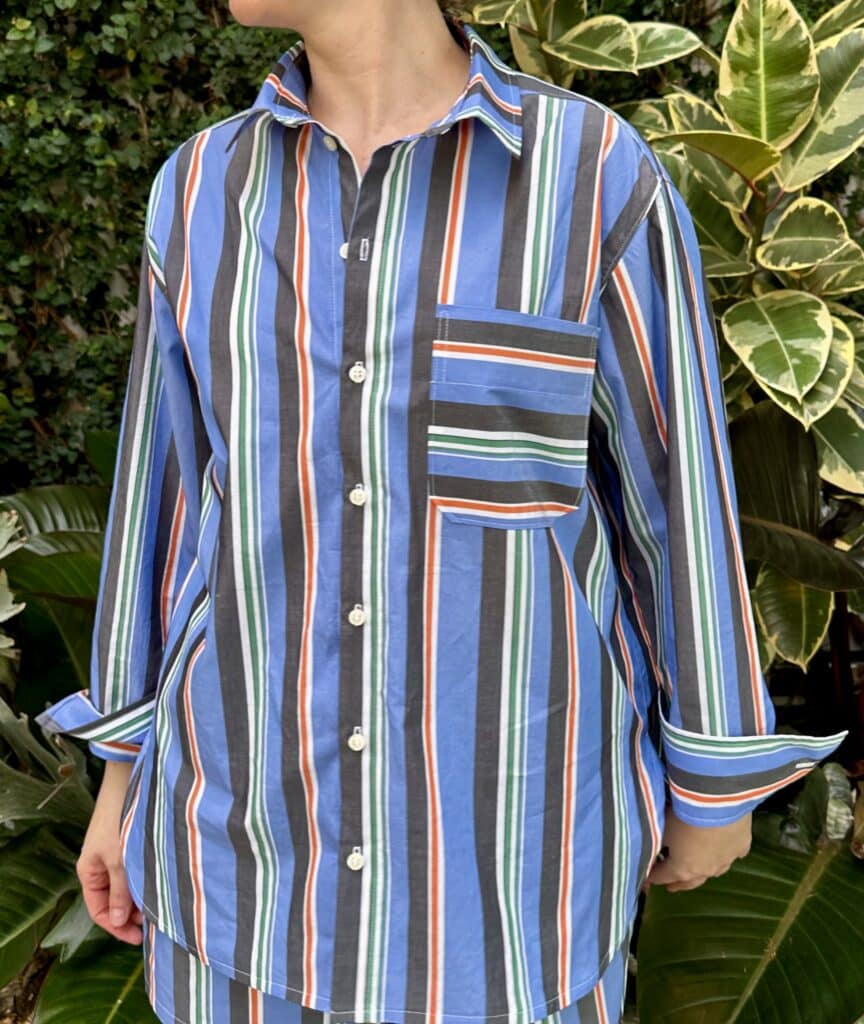
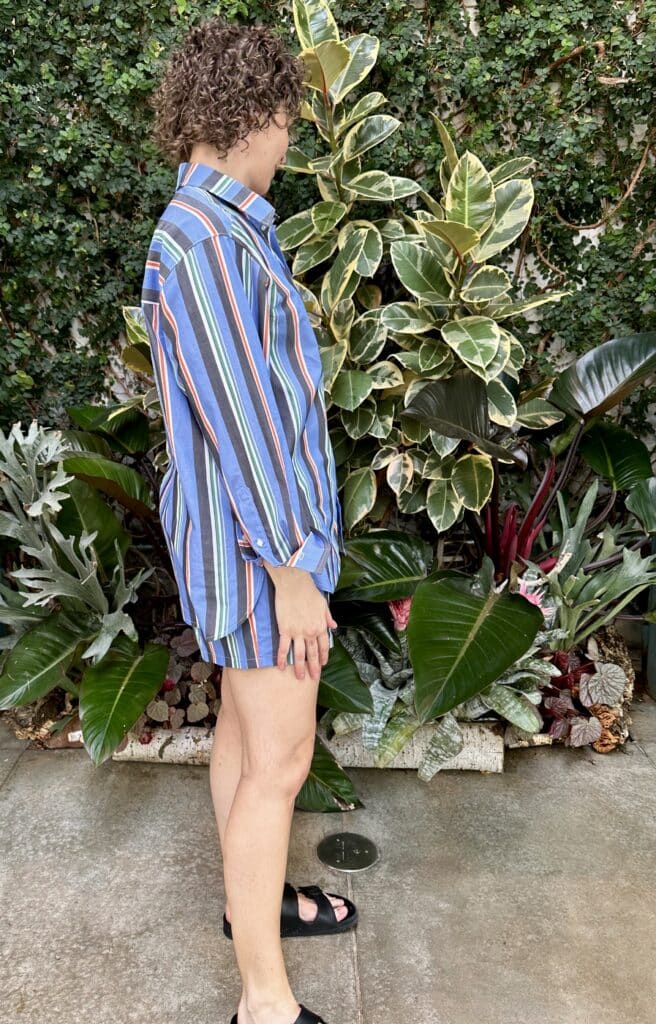
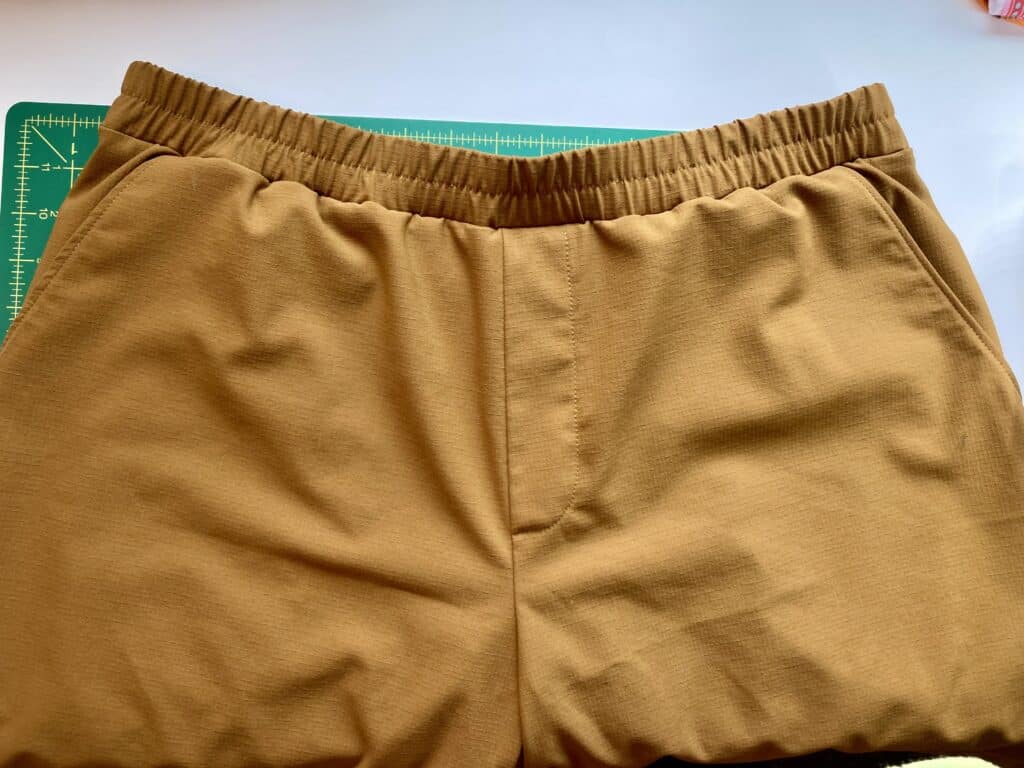
I finished some tiny shorts just in time for wading-in-streams, broken-AC-at-the-gym, 82-degrees-at-8:00-am weather:


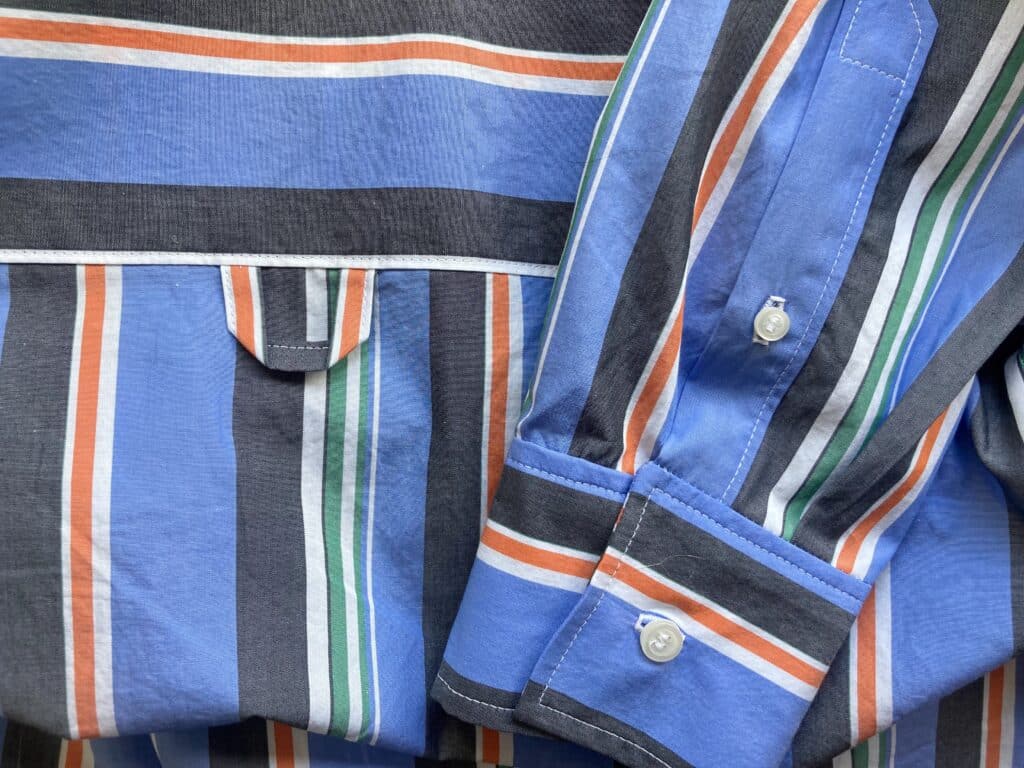
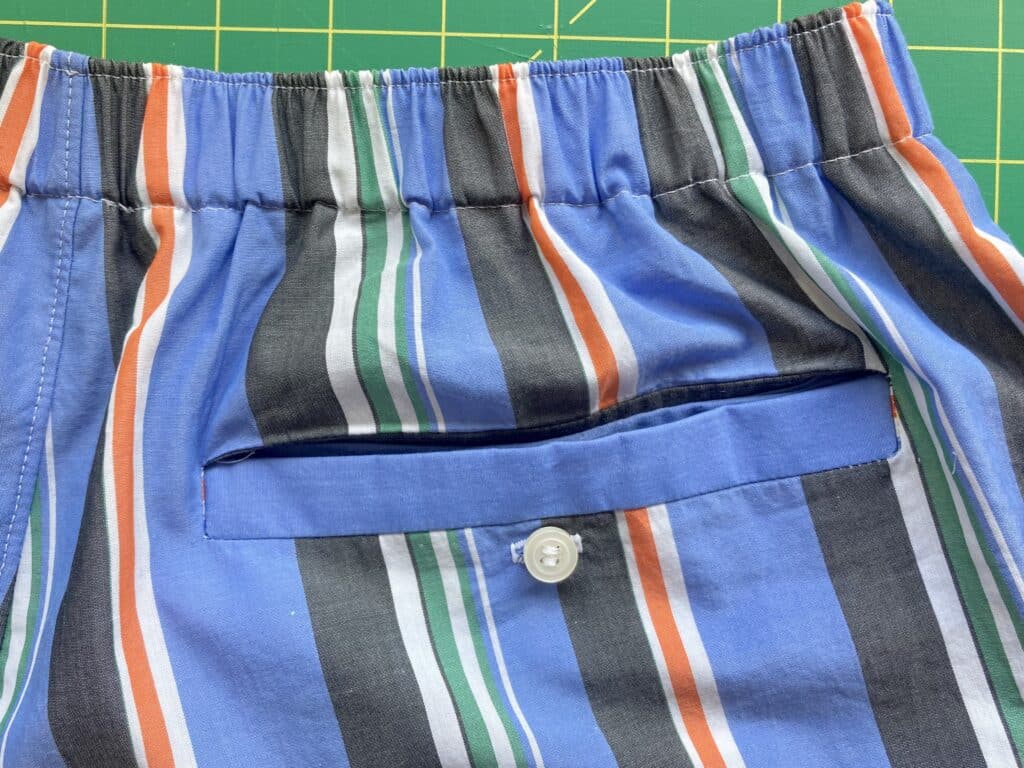
These are the Greenstyle Balboa Shorts, which I’ve made before (I used 2 inch elastic this time vs 3 inch). The pattern has front zip double welt pockets but I added a shallow one for my ID to the back too (lose your driver’s license in the lake once [2022] and you’re always going to have a dedicated ID pocket thereafter).


I wore them all weekend long in the heat wave. I even had a full Magnum, P.I. moment at the lake–polo (the Wardrobe By Me mens pattern), tiny shorts, and staring at the water.

Tuesday Project Roundup: Khakis

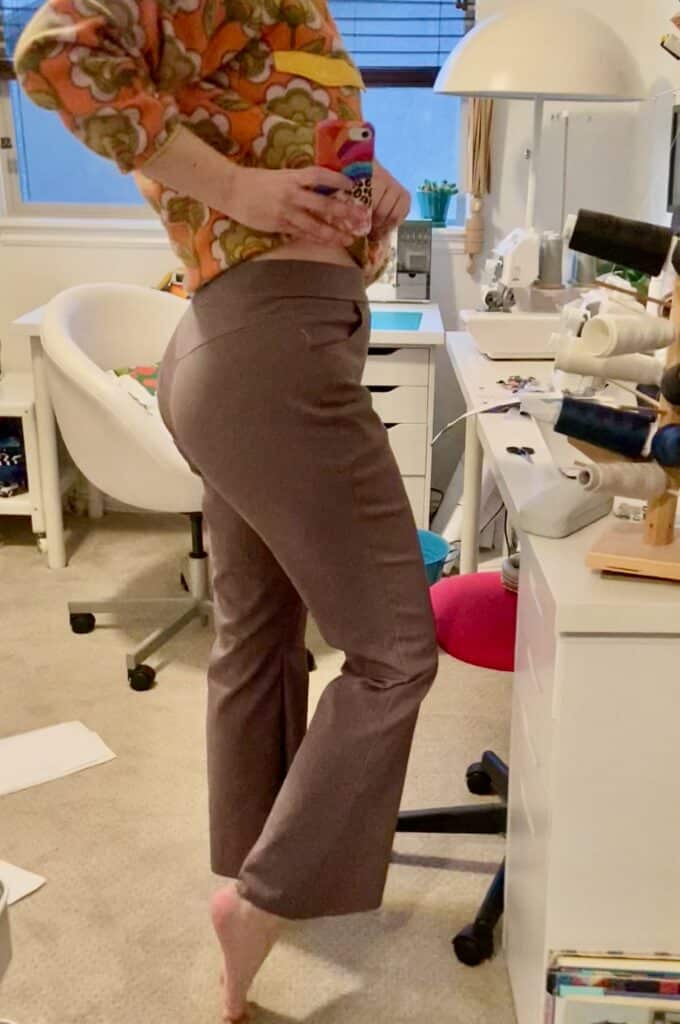
Here’s the first pair of khakis I’ve owned since high school, and I MADE them!

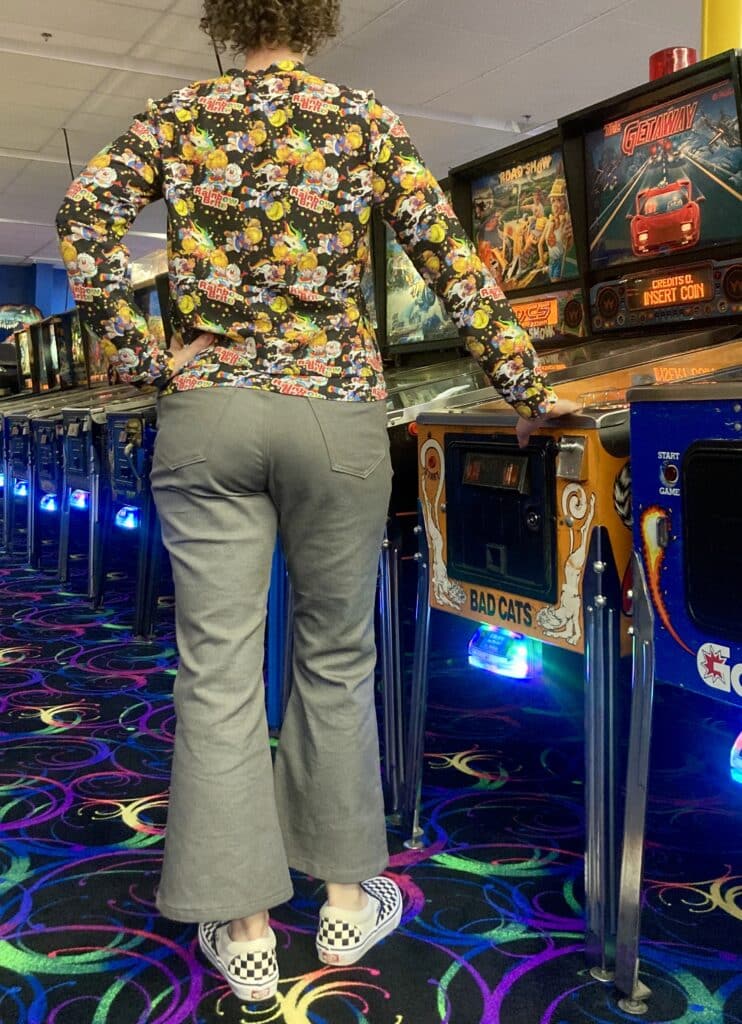
When you don’t leave the house, it’s hard to get good modeled pictures, but these give you an idea. They are khaki! They have a high waist and a wide leg! They FIT!

It’s also hard to take a picture of your own butt, but this gives you an idea of the rear fit (excellent, verging on “wow I hope these stretch out soon”).

These are the Daughter Judy Brier Pants and I made my size at the hips and graded a size down to my size at the waist. In hindsight, I could have done a straight size for the hips because these are pretty high-waisted. But they are stretching out, as the pattern designer said they would in a twill weave.

Construction-wise, I didn’t have any issues; I think the DJ instructions are excellent, both for the actual assembly and for finishing details. I used a twill from the Eddie Bauer for Joann line and the triple-stitch feature on my machine, since I didn’t have matching topstitching thread on hand.

Now all I have to do is break these babies in. Hopefully my size will stay constant enough I can get these really worn, for that Authentic Prep Feel.