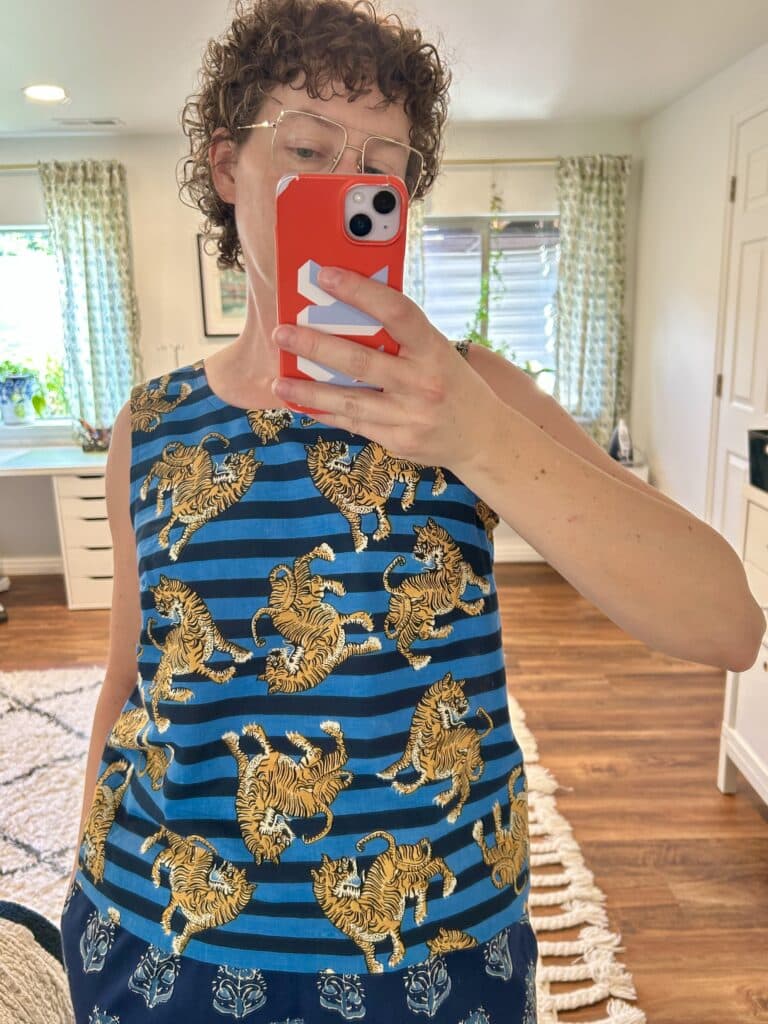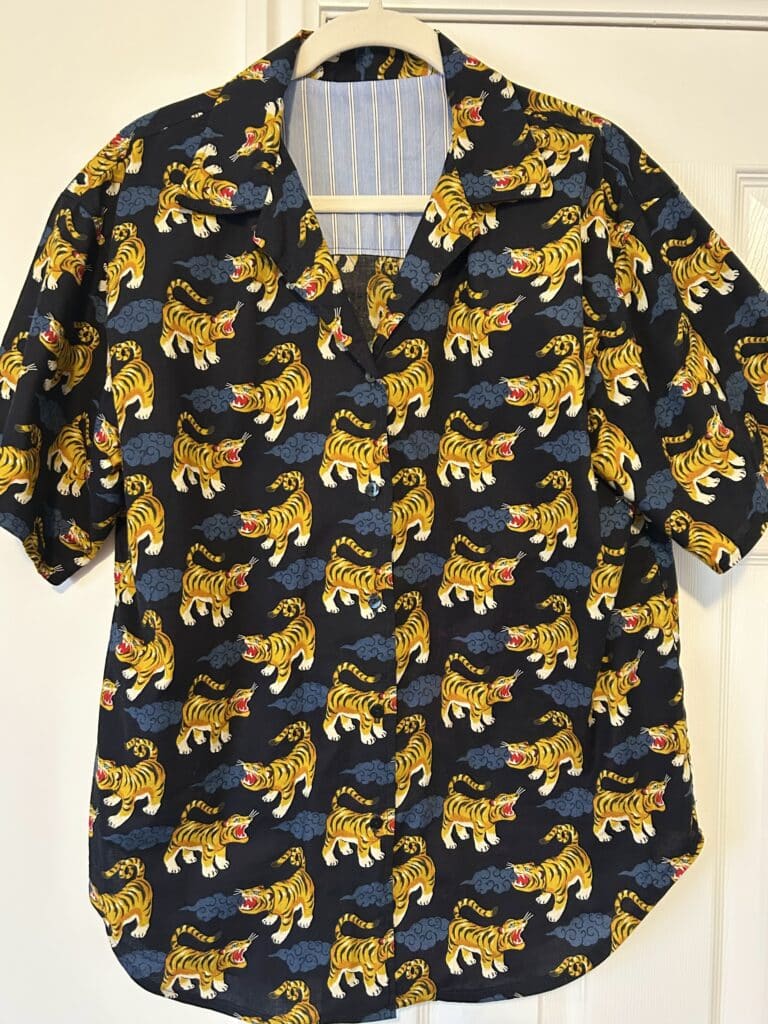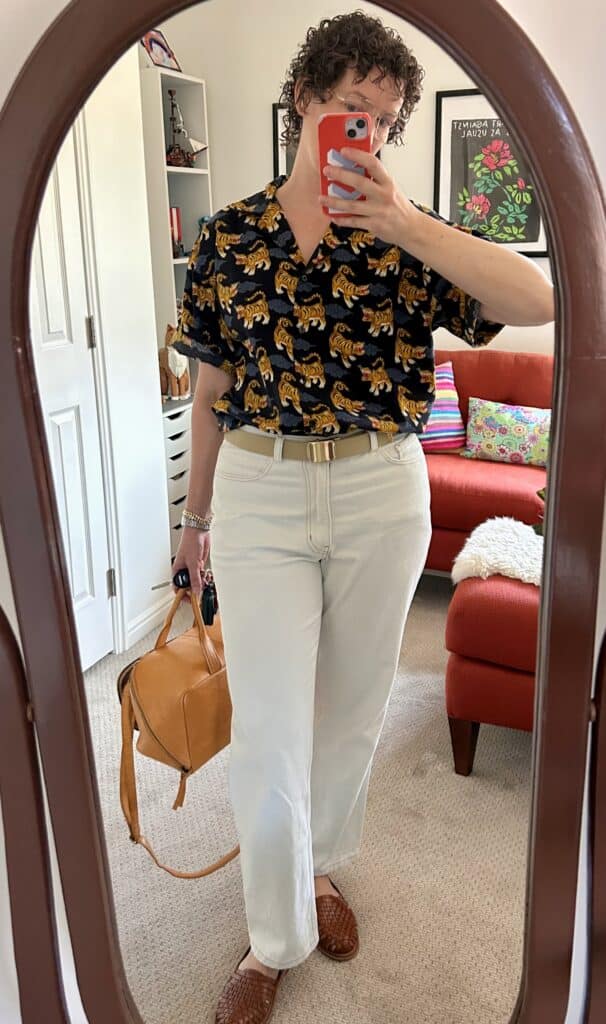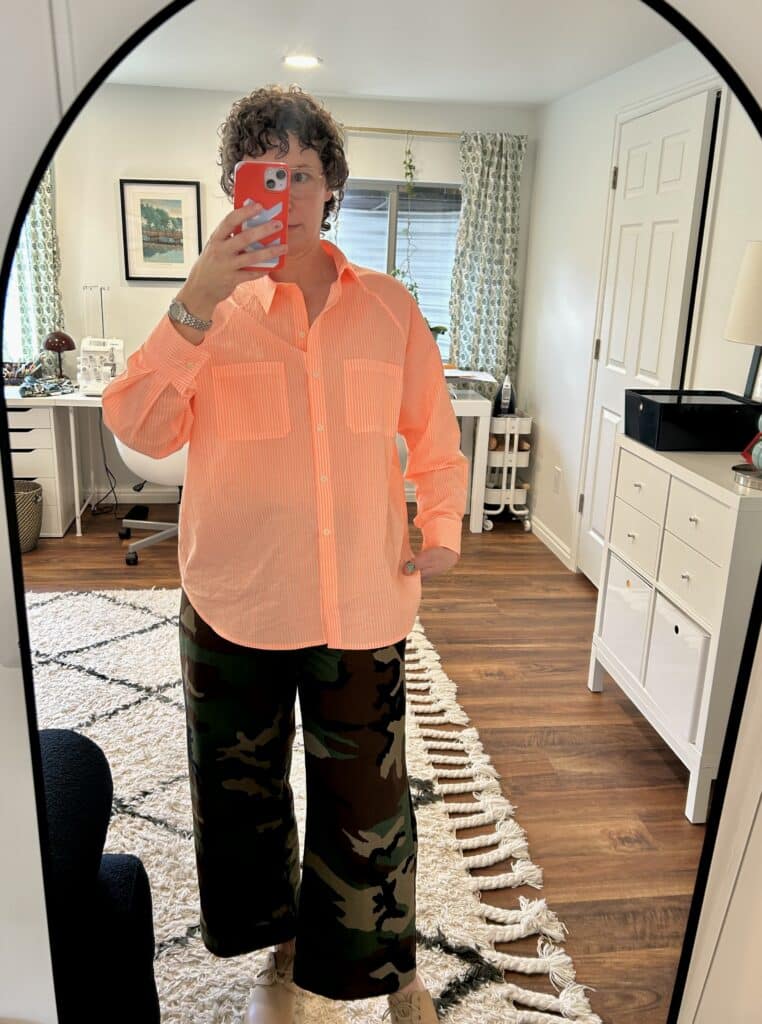
At this point in my life, I like what I like and I have enough of a blog record to prove it. Case in point: Colorful stripey fabrics and big pants, as discussed in 2019 / made a few weeks ago.
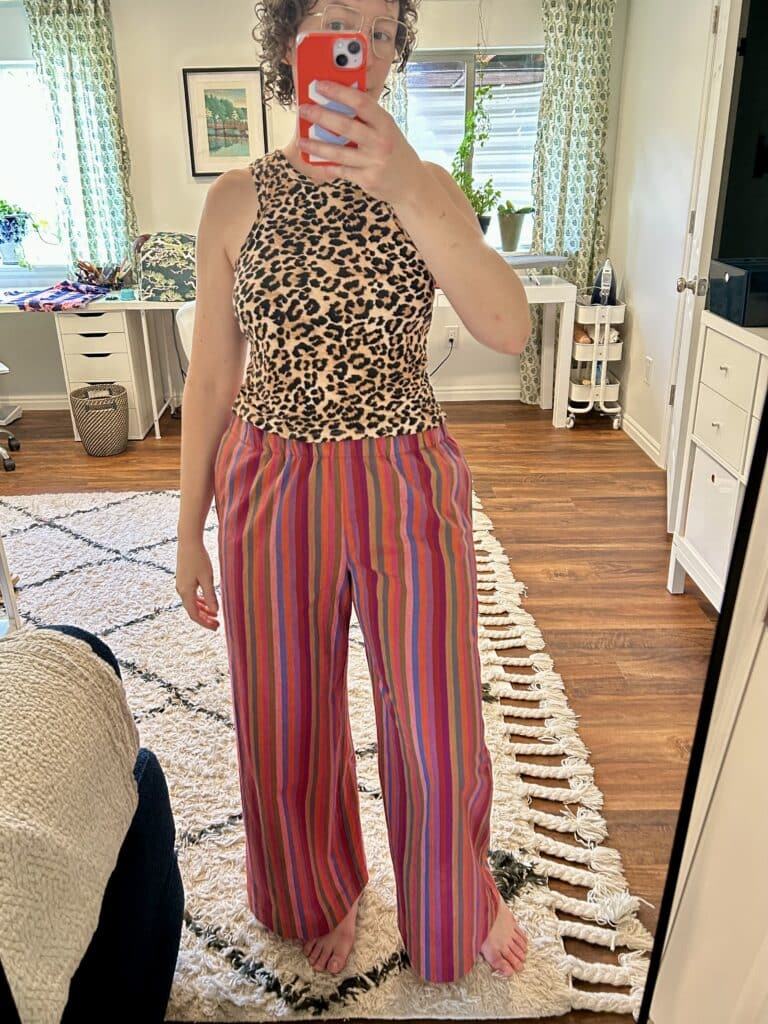
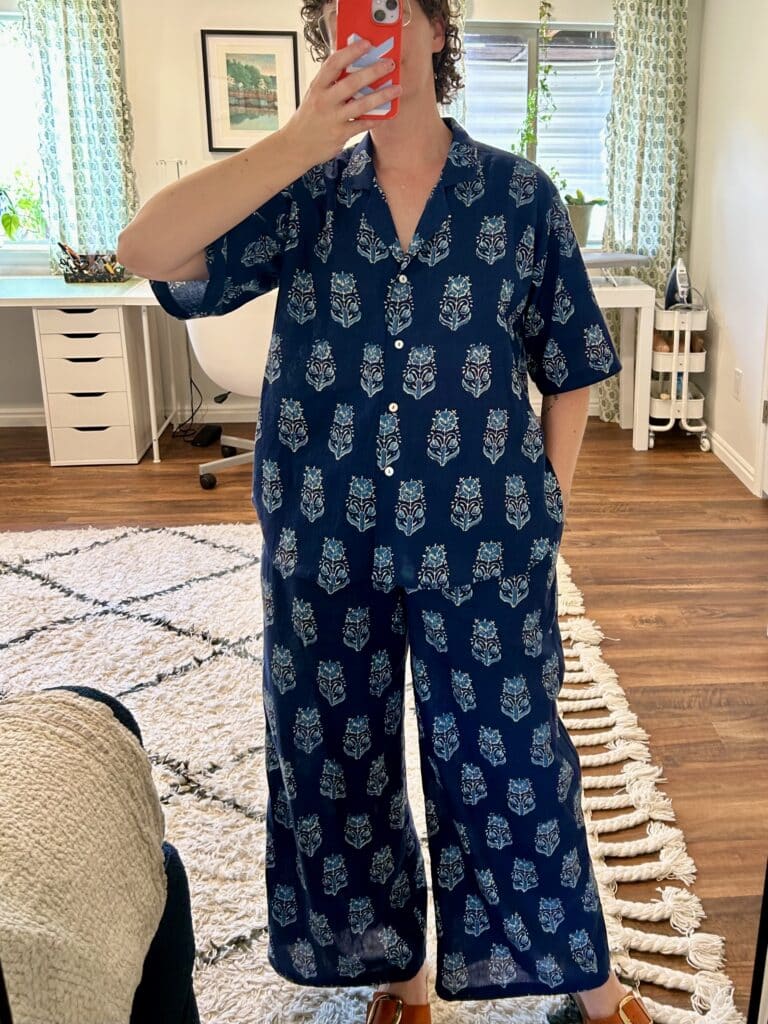
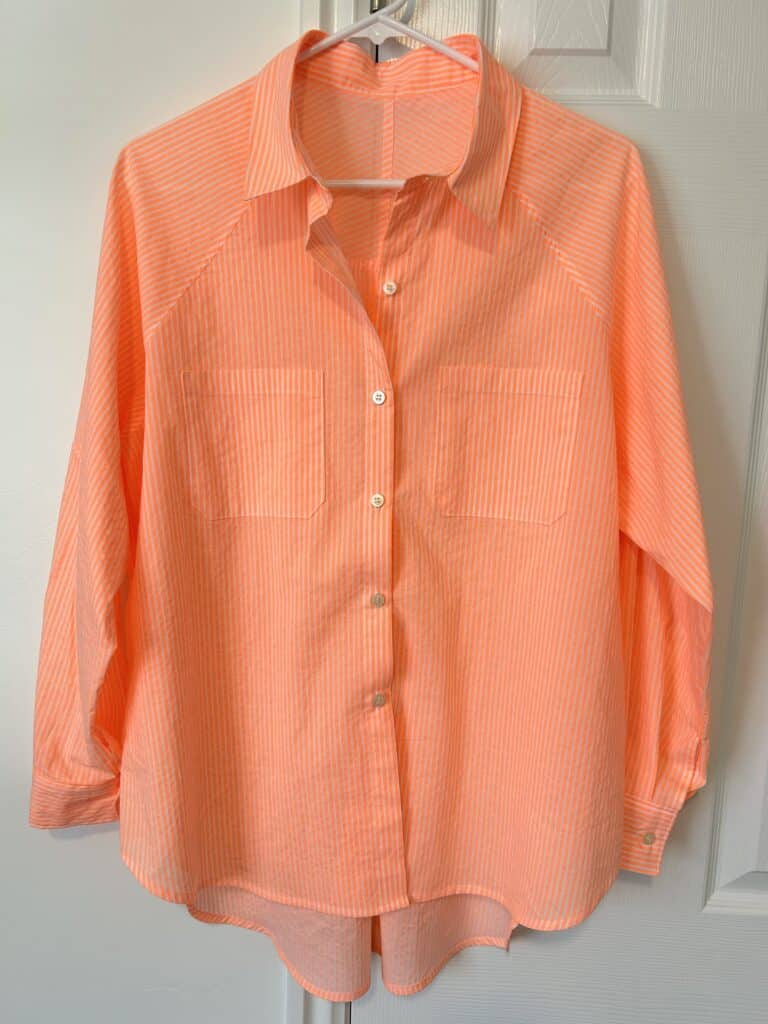
I took Sunday afternoon off from garage work and hid from 109 degree heat (!) in the basement, sewing up another pair of Elizabeth Suzann Florence Pants (lengthened by 4 inches again; I also upgraded my pocket addition to be anchored in the waistband and they’re so much nicer). The fabric is a Kaffe Fassett stripe from Harmony and the colors are so good.