It’s Happening

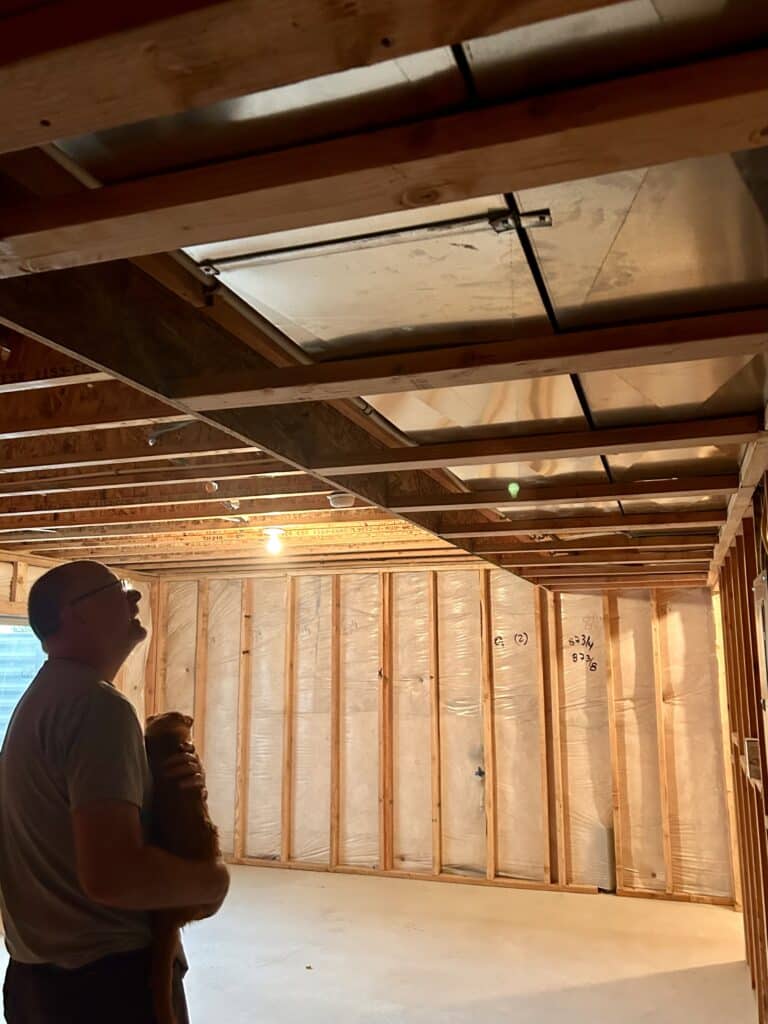
Construction on the basement started yesterday and the framing is already done (!). Three guys were here from 8 to 5, plus the general contractor to get everything going, plus a visit from the plumber and the floor guy. Concrete cutting starts tomorrow and the door guy is coming for a consult tomorrow afternoon.

I was already feeling pretty good about the decision not to DIY this whole thing but the speed at which the framing happened really solidified that feeling. I am so glad I didn’t try to do this myself while being employed and watching a senior kitty–just the framing would have taken me weeks.
The same unfinished basement with studs over the insulation and a room framed in.
A man holding a cat looks up at the ducting that has been framed in

Speaking of senior kitties, we had to bring Toby down to show him all the scary noises had stopped for the day. 🙁 I don’t think any of us will enjoy the concrete cutting but hopefully it will get a little quieter for him after that.
Finally

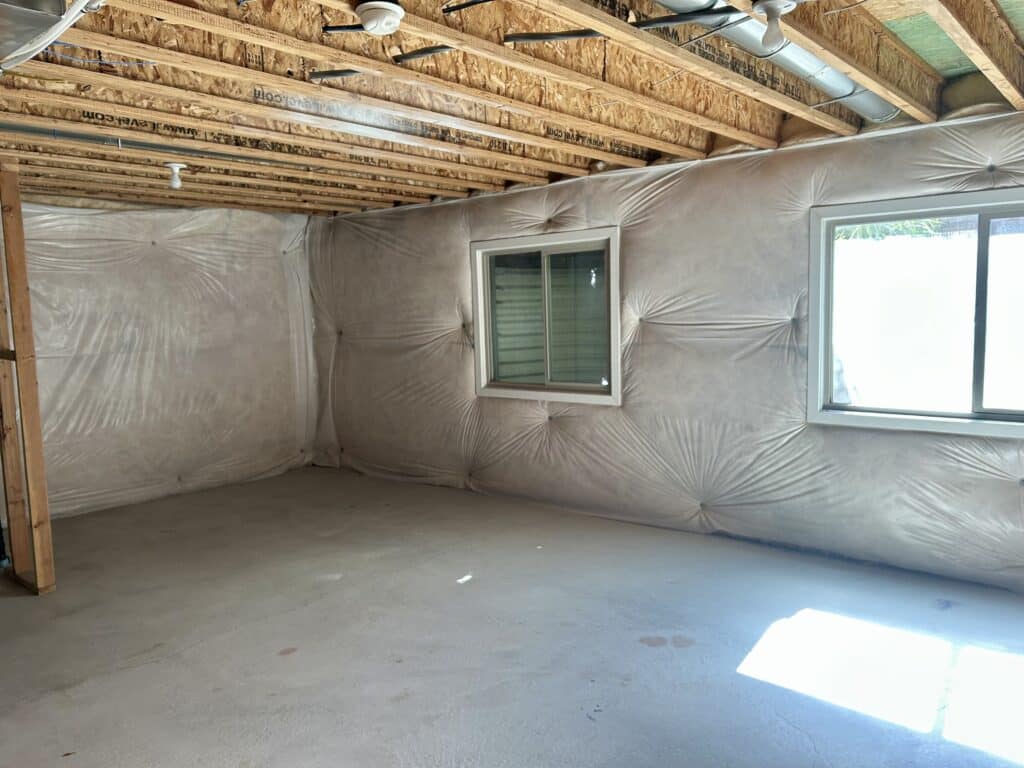
We got the basement completely emptied out yesterday, after five weeks of organizing  and finding homes for everything else one lamp at a time.
An empty unfinished basement with insulated walls and a south facing window.

Everything that was left down there fit into the garage, plus I can still park in there all winter during construction! (Also, getting that tool cart up the stairs just about caused a domestic incident, but it’s going to stay in the garage forever so at least we don’t have to do that ever again.) (Until I decide to epoxy the garage floors next year, that is.)
The side of a garage filled with two tall storage shelves and an orange tool cart.

And now the basement is completely READY. Ready to start framing and, uh, jackhammering the concrete to move the sewer line over, which I’m sure will be chill and fun to have done! It’s all going to be so chill and fun!

(Still better than DIYing it though. I saw this yesterday and where’s the lie?)


View this post on Instagram


A post shared by Martha Stewart (@marthastewart)

Expensive Entrenched Autumn

Right on the heels of Hot Unsettled Summer, I give you the season of basement finishing:  Expensive Entrenched Autumn. We are committing to the current house! We are making improvements! We are spending a lot of money!!

As of this week we’re officially in the “plans and contract” phase with a contractor we found and love, but–like most things this year–it was hard to get there. Turns out my expectations on cost were more vibes-based than reality-based, so when every bid we got came in double what I was expecting, I freaked out.

I had about four days of thinking I could DIY everything, but I started reading about concrete leveling and venting a bathroom to the exterior and taping drywall and getting permits and I had to admit that doing major construction is beyond my current skill set, especially with a job to do and an aging cat to watch like a hawk every waking moment and people to cook for. (Did it kill me to admit that? A little.)

But you know what made me feel a lot better about spending the money to have someone else do the basement? Looking up the average cost of a wedding. For the price of one night of dinner, drinks, and venue for 75-100 of our nearest and dearest, we can get a whole extra bedroom and bathroom (and I can skip to the fun part of looking at tile and vanities and wallpaper).

As Doc said, “A basement is forever!”

Glamour Shots

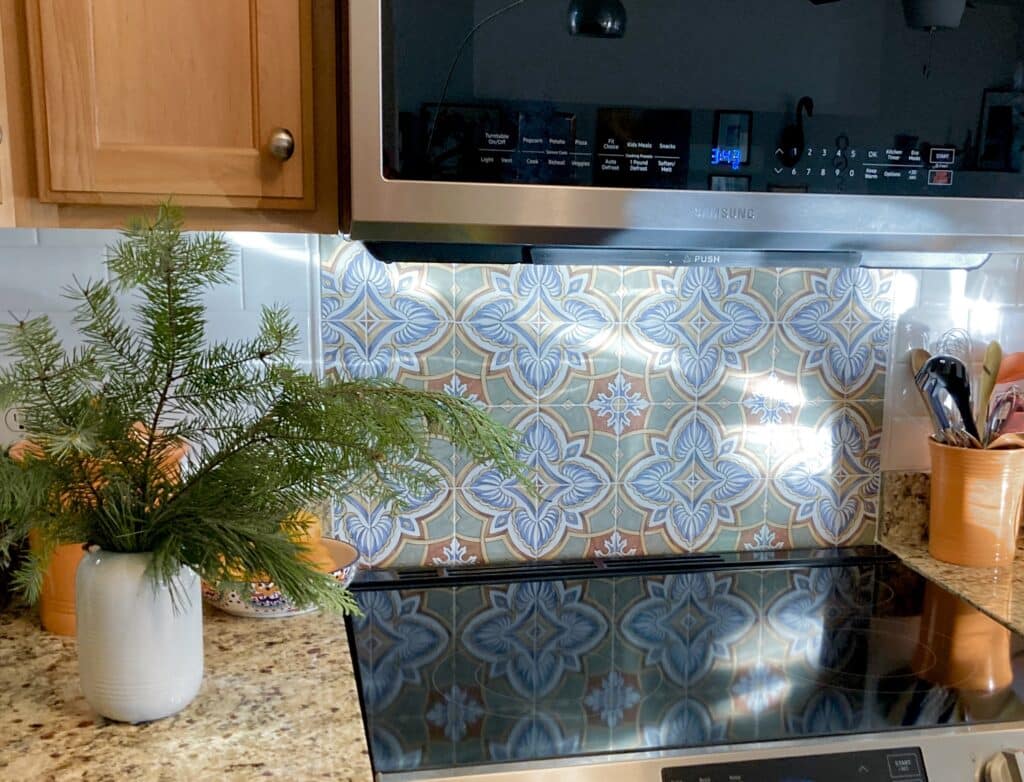
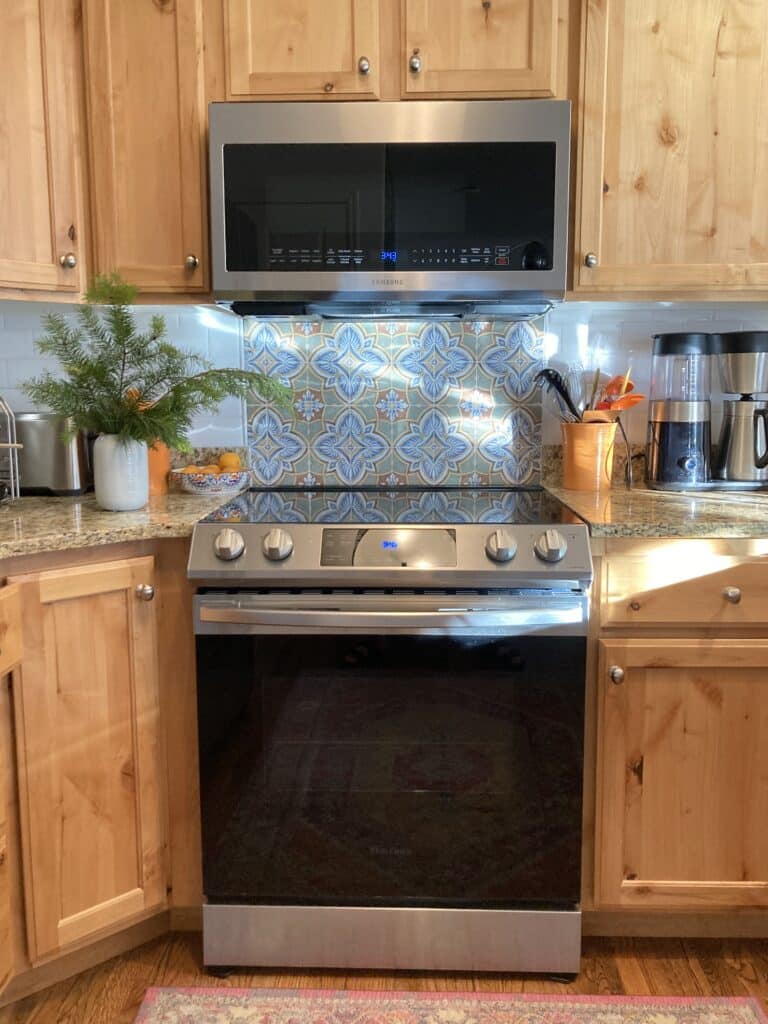
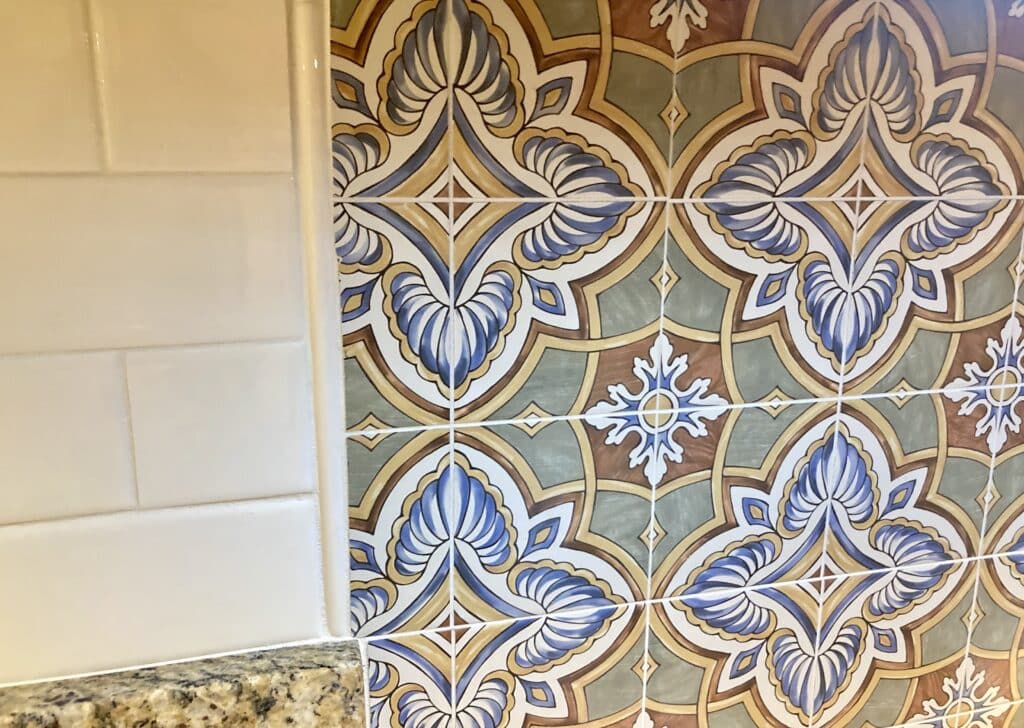
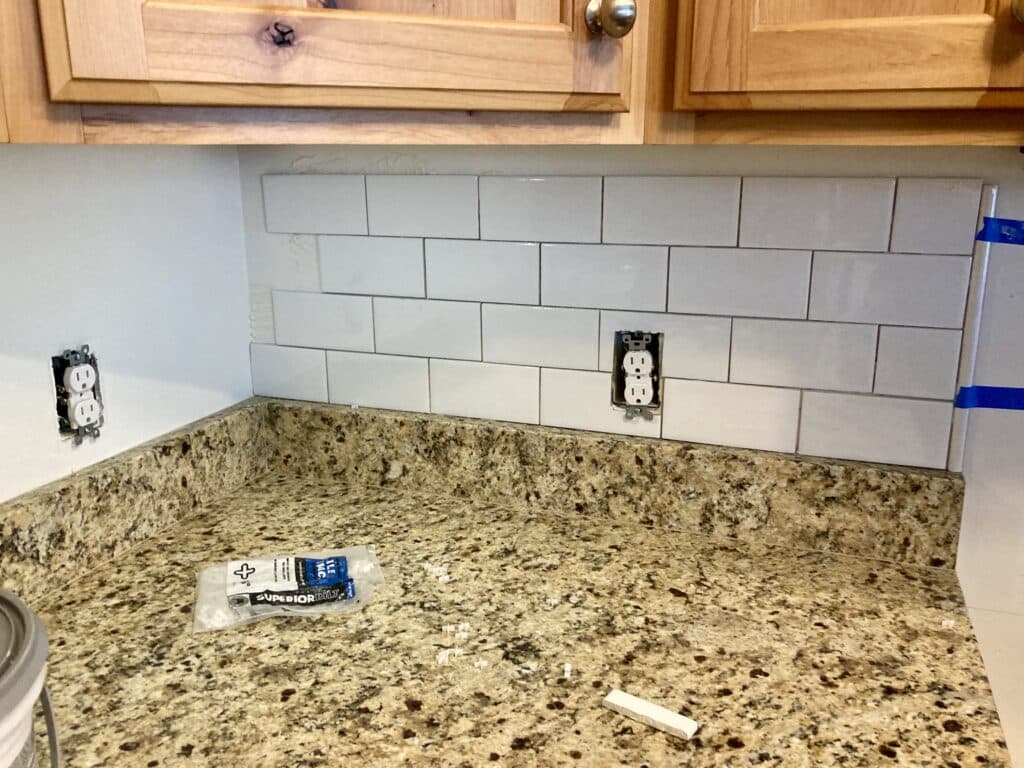
After my half-awake post yesterday about bad light, the sun came out in the afternoon and I got some “glamour” shots of the tile in situ.

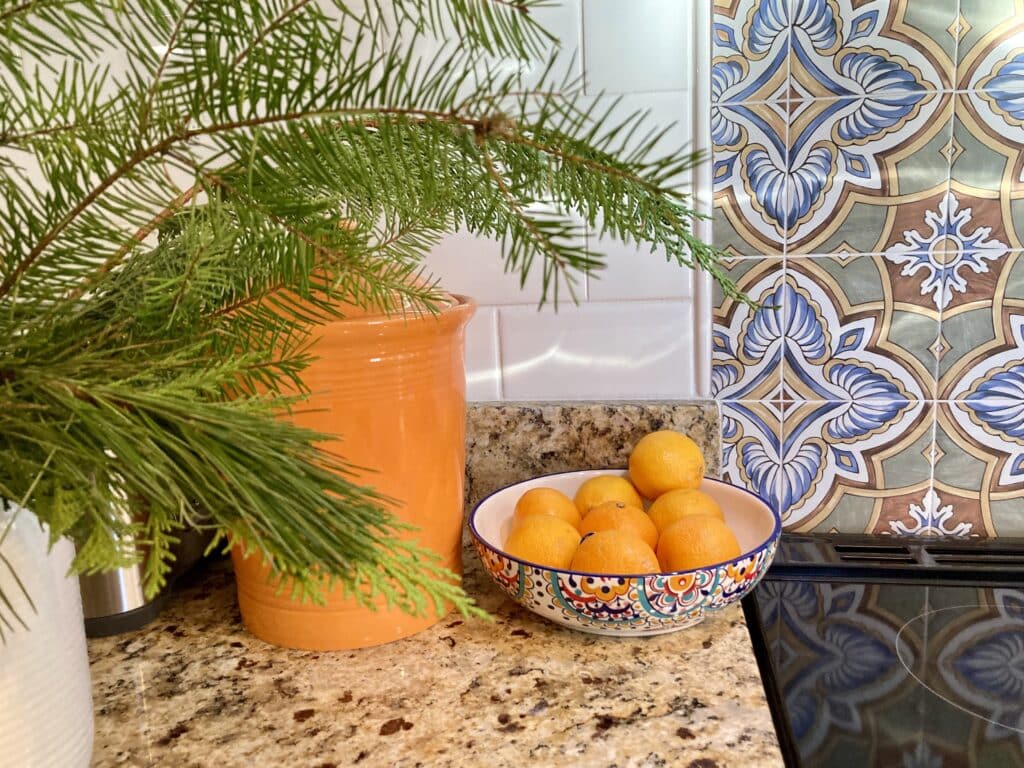
The thing about fancy home magazine photography is that they 1) use actual photographers and 2) stage everything within an inch of its life (“there can be no sign of living in this house!!“). But I think these photos show how the tile is doing what I wanted it to do: distract from the cabinetry and blend with the granite (accent) and bounce around the light (subway).

I’m also really pleased how backsplash plus the cabinet we added finally “finishes” the end of the kitchen as it moves into the dining area:

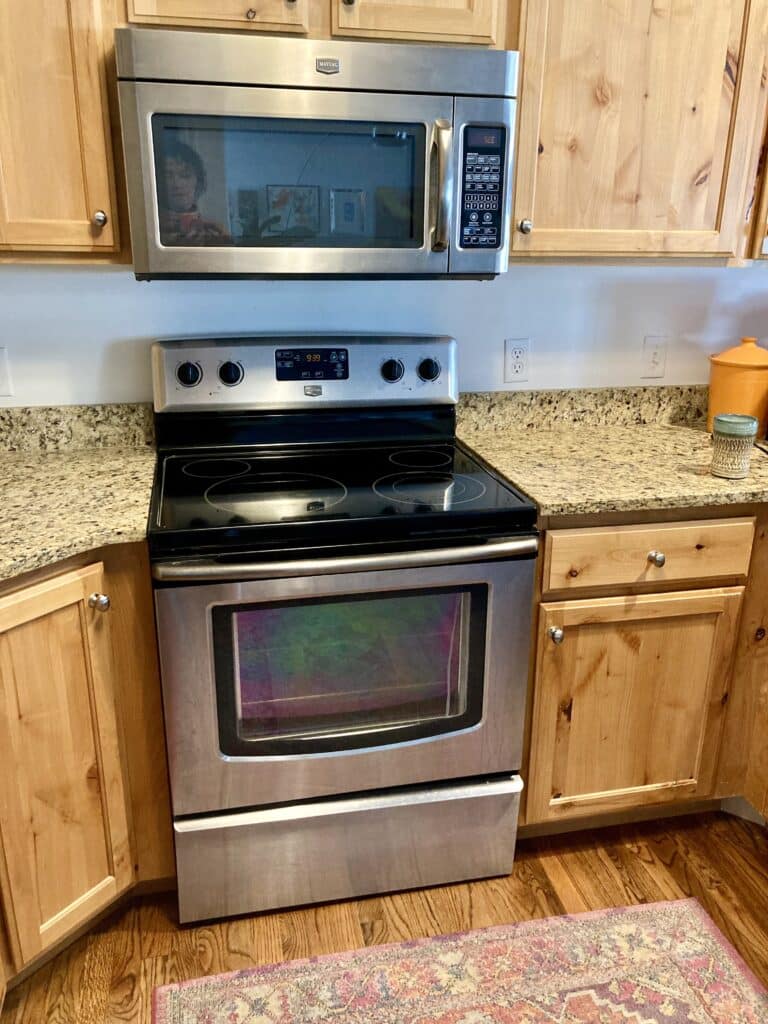
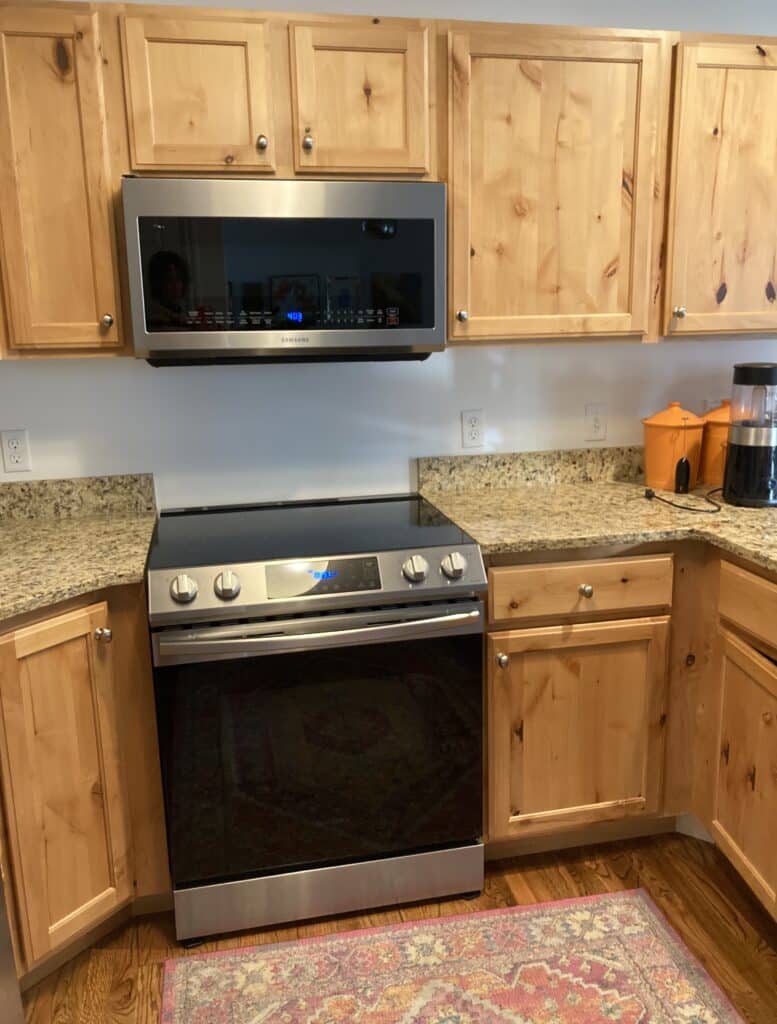
As a reminder, this is where we started, untouched since 2011:

And this is where we’re at with (relatively) minimal effort!

“Relatively” is doing a lot of work up there, lol, but for not doing anything too major, the kitchen really feels new.

Kitchen Weekend

I spent Friday afternoon and the first half of Saturday grouting and sealing and cleaning up, and now that project is put to bed. It rained here all weekend so the light was terrible (plus the light in the kitchen in general isn’t great) so I’m not sure when I’ll get better shots, but hooray for a little remodeling.

We socialized (!) on Sunday (no hike because of the rain/snow) and I pretty much spent the rest of the weekend panic-prepping all the projects I need to get done for December that I pushed because I was doing the kitchen.

Mostly Tile

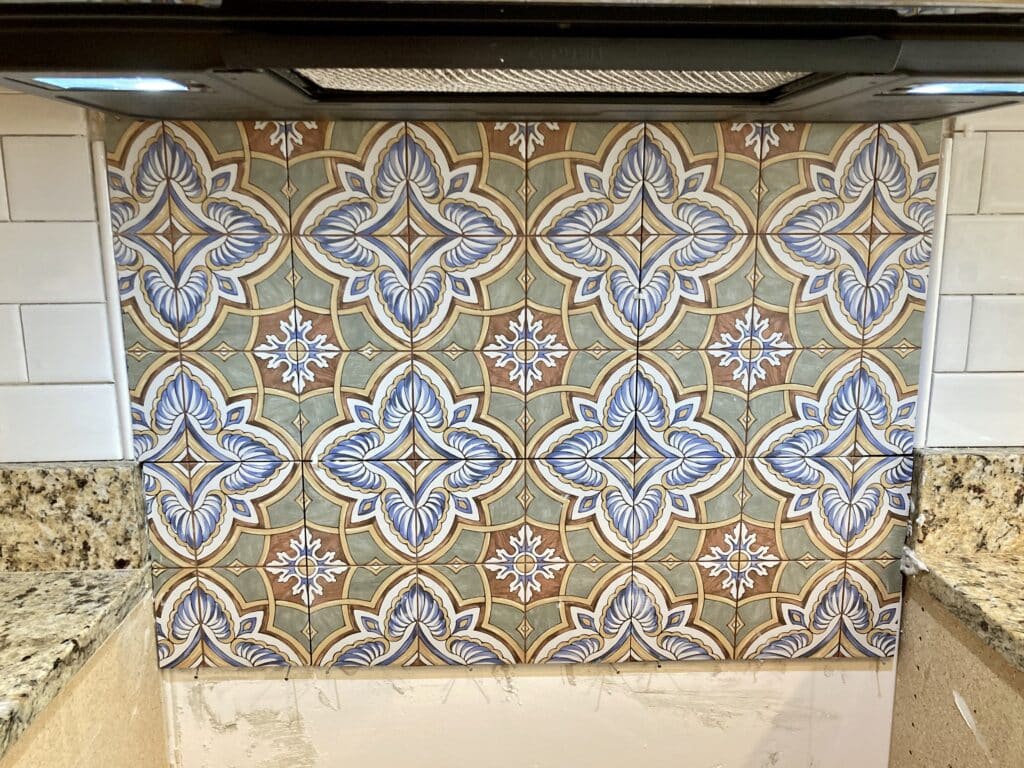
Two out of the four days of the long weekend were tile days–it took a lot longer than I thought it would, but it’s looking really good–snd it’s staying on the wall, even better! (I had my doubts about that accent tile.)

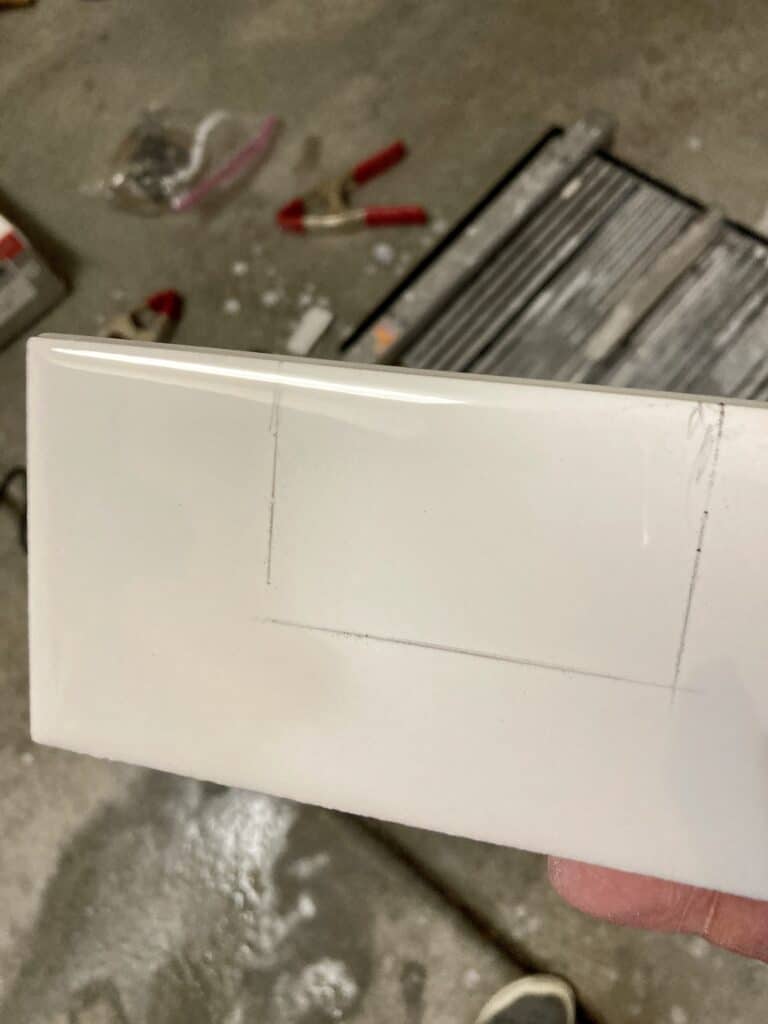
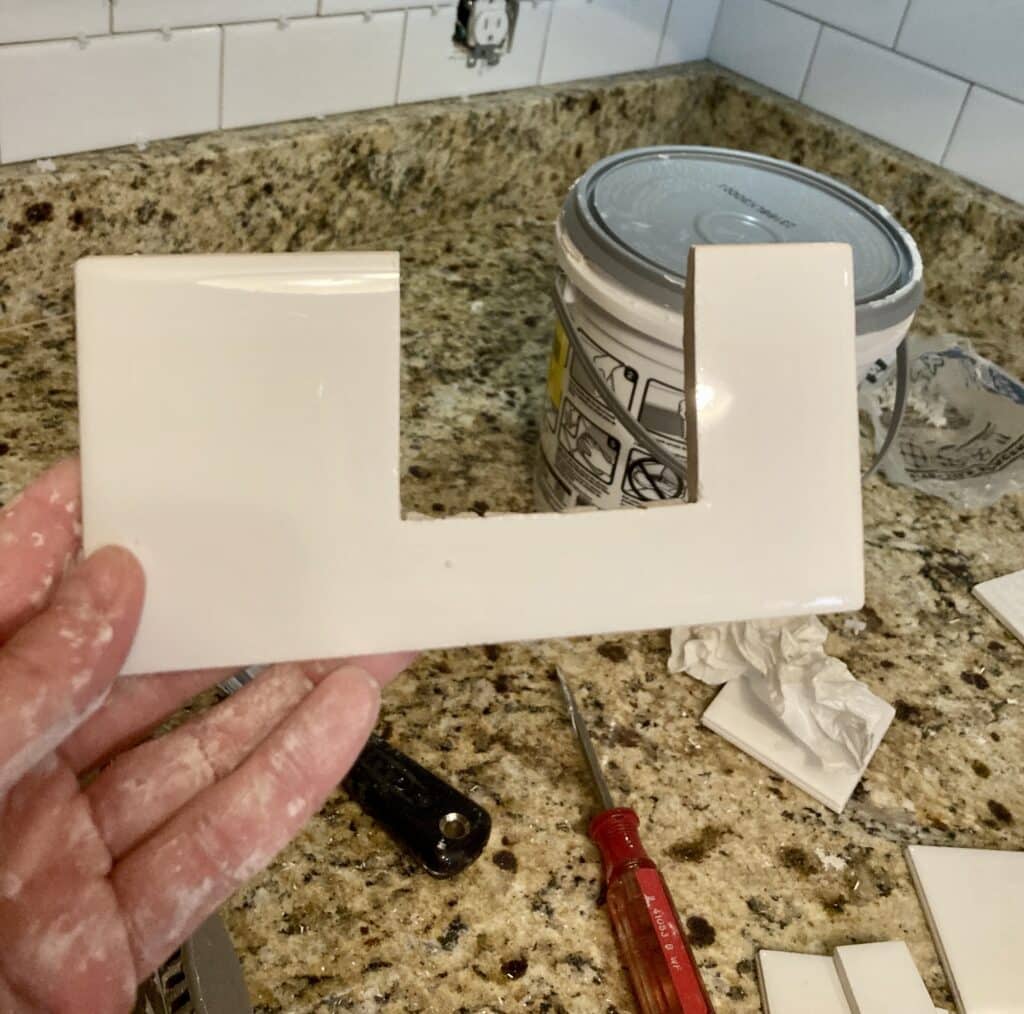
I’m so pleased with myself that I remembered most of the tips Dad taught me when we did the bathroom together–this was my first big project without him physically there helping/doing most of it. He was definitely consulted beforehand and I have a feeling he was waiting by the phone Friday in case of trouble, but Doc and I got it done on our own. I even ran the tile saw and remembered how to make cutouts for outlets! (Still have a lot of practice before I can cut curves like Dad, though.)

I might have been pleased with my retained knowledge and how everything looks, but Toby was VERY UPSET we were doing something out of the routine:

But we got it all put back together and had a normal Sunday with a hike, so Prince Toby could relax.

I have to grout this week but the hardest part is over! Now to move on to Xmas decorating and gift sewing and birthday cake making.

Here We Go

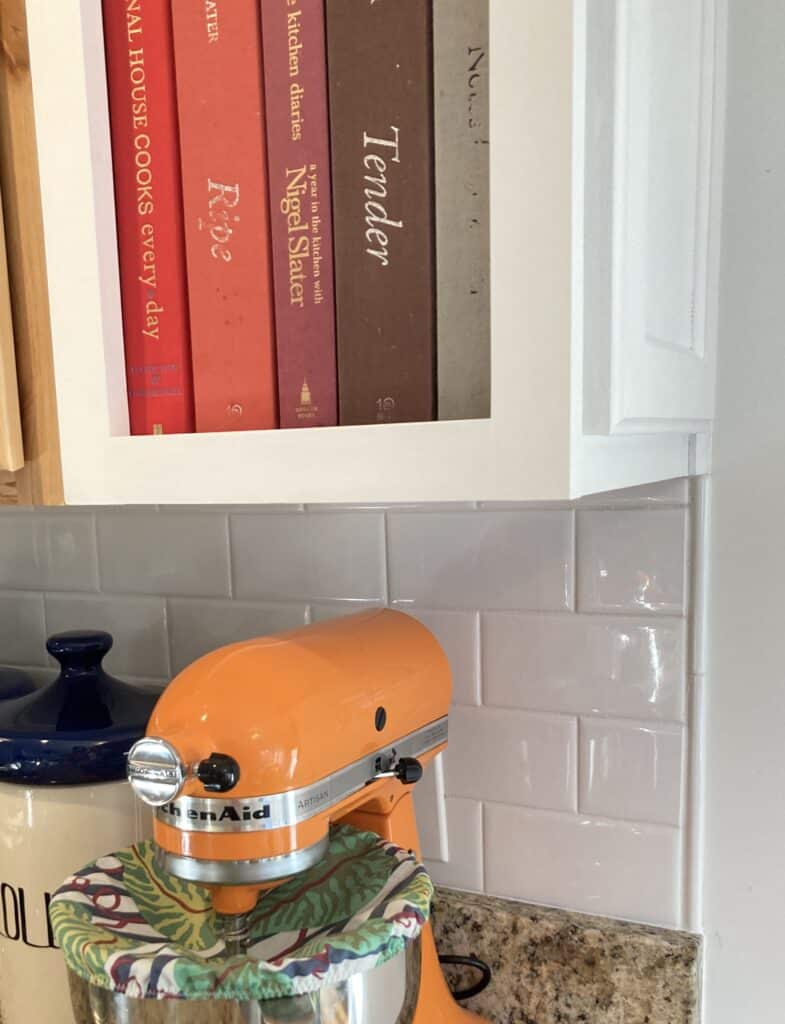
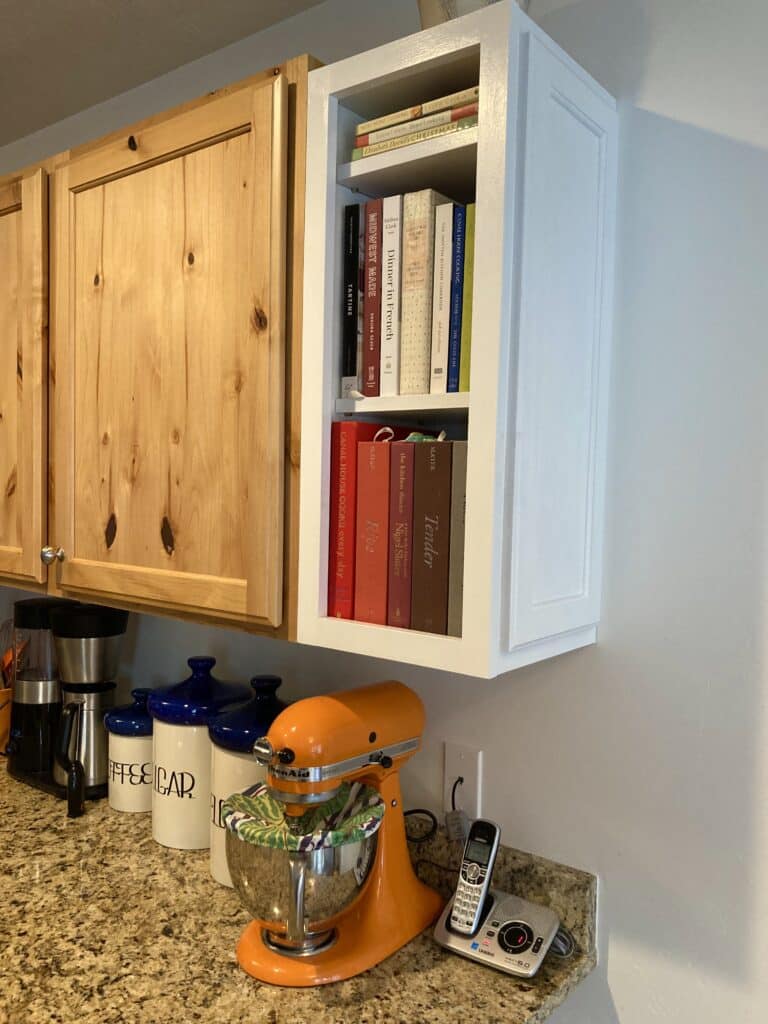
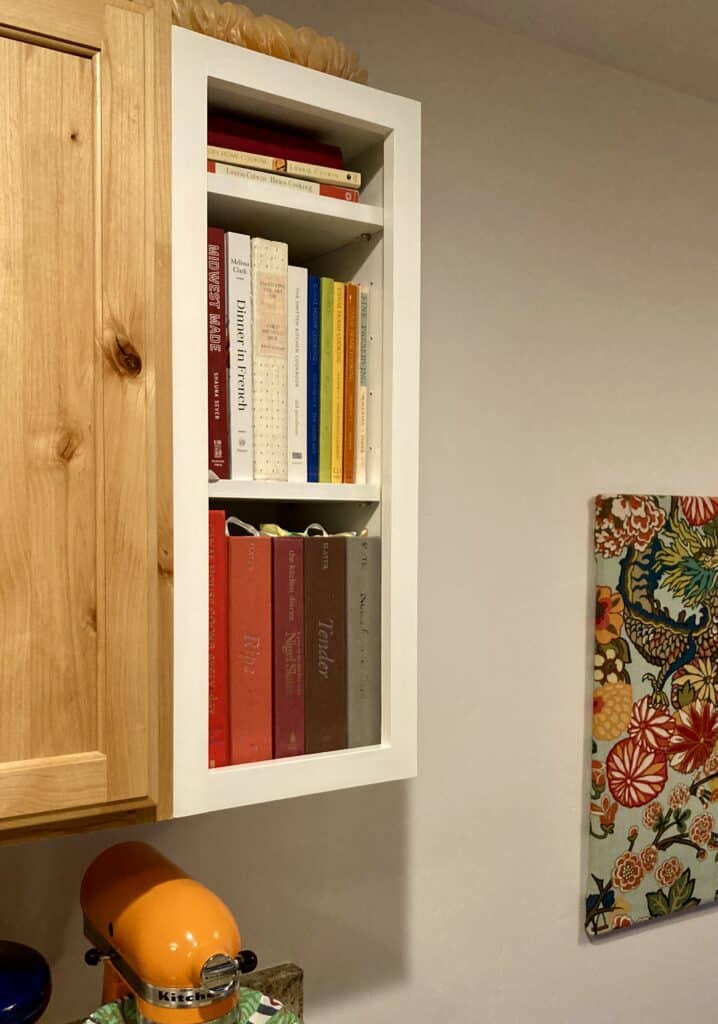
Kitchen Week is upon us and it started Saturday with my dad coming up to hang an extra cabinet. The existing cabinets here stopped a foot shy of the counter; that gap was going to look even weirder once we added a backsplash.

At first I wanted my dad to teach me how to build a shelf/cabinet, but he did the research and offered an unfinished, pre-built option. It came with a door, so he had the idea to put the door on the side, and blammo! A place for cookbooks, which freed up a cubby in the credenza, which let me move things around on the counter, which made a lot more space. (If you give a mouse a cookie…)

Dad also primed and painted the unfinished cabinet (we went with paint because there was no way we were going to match the finish). I remember him offering to paint, but he says I asked him to. 😆 Either way, I got a pretty good deal: a hundred dollar cabinet and minimal effort on my part. (And, to be fair, definitely less  effort on my dad’s part than if he taught me to build one from scratch.)

The plan is for Doc and me to tile on our own on Friday. I’ve been relentlessly tracking the accent tile and it might arrive in time for that; if not, we’ll finish up on the next weekend.

If You Give A Mouse A Cookie

If you buy a new stove, you’ll want a new microwave, too:

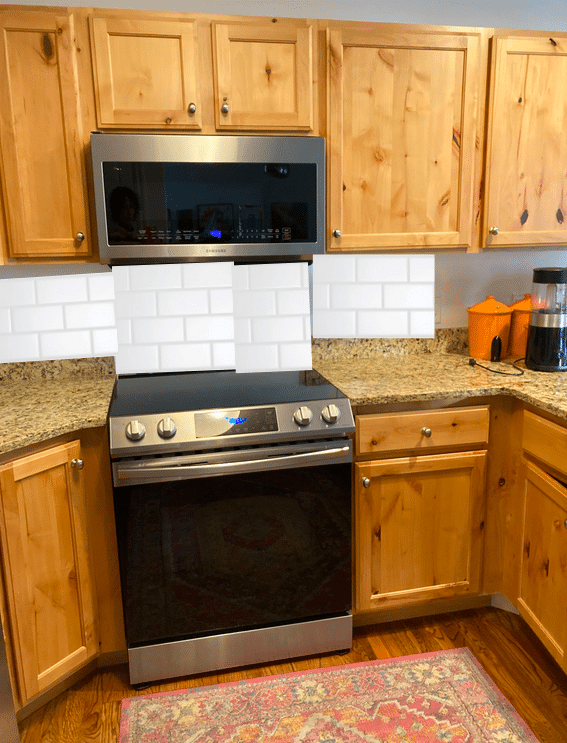
If you get a new stove and microwave, you’ll think, “Why not do a cheap and easy subway tile backsplash, too?”

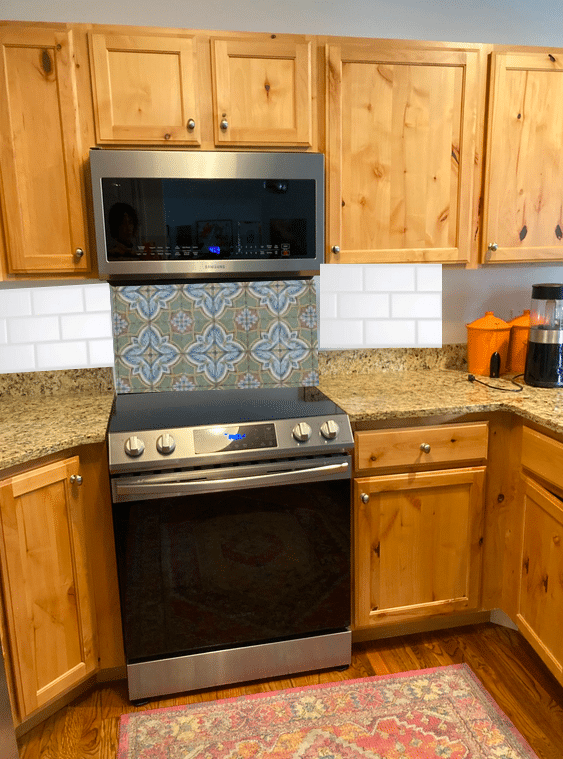
But then you’ll see the new stove and microwave installed and–because you don’t want to deal with removing the existing granite backsplash–you’ll think, “Wow that space between the new appliances would be ideal for a tile accent.”

Then you’ll badly mock things up and wonder how much waiting for the fancy tile will throw off your proposed schedule to tile over Thanksgiving weekend.

But I think it would look good! It’s almost giving a modern “Tuscan kitchen” vibe (the 90s are in!) and it works with the cabinets and counters. (This whole project came about because we want to sell in a couple years, so don’t want to rip out the upper cabinets and get lighter counters, so how can we do some updates that don’t involve demo.) (Also, the front burner on the old stove was going out.)

We do have the wallpaper accent in the same room, plus a bunch of textile patterns, but I think the tile accent would blend pretty well. No such thing as too much pattern–just ask the Bloomsbury Group.

“We need more bird feeders”

We spent another weekend doing house stuff (because it was suddenly VERY cold) and it was the stuff I usually put off: dusting baseboards and light fixtures, washing throw pillow covers, etc.

I’m also stove shopping and planning how to do a backsplash in the kitchen, so this video is very apt. Company isn’t coming, but I will surface from looking at ideas online and say to Doc, “I need a bird feeder in every window! Put seashells on the door knobs!”

Never Enough Pattern

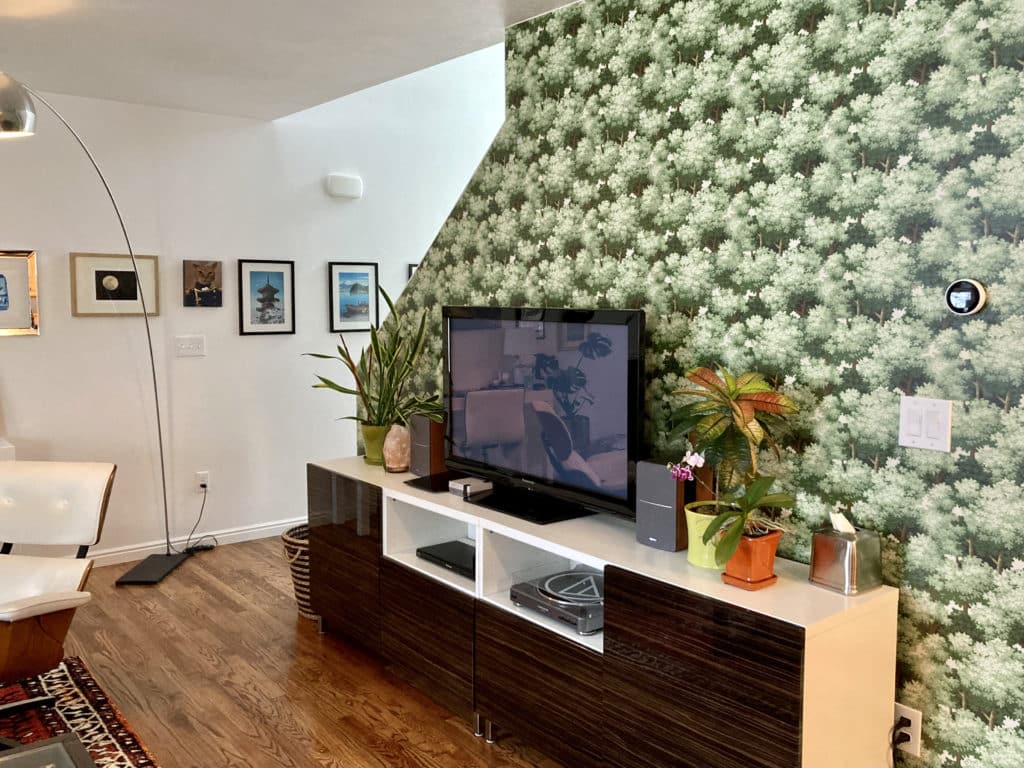
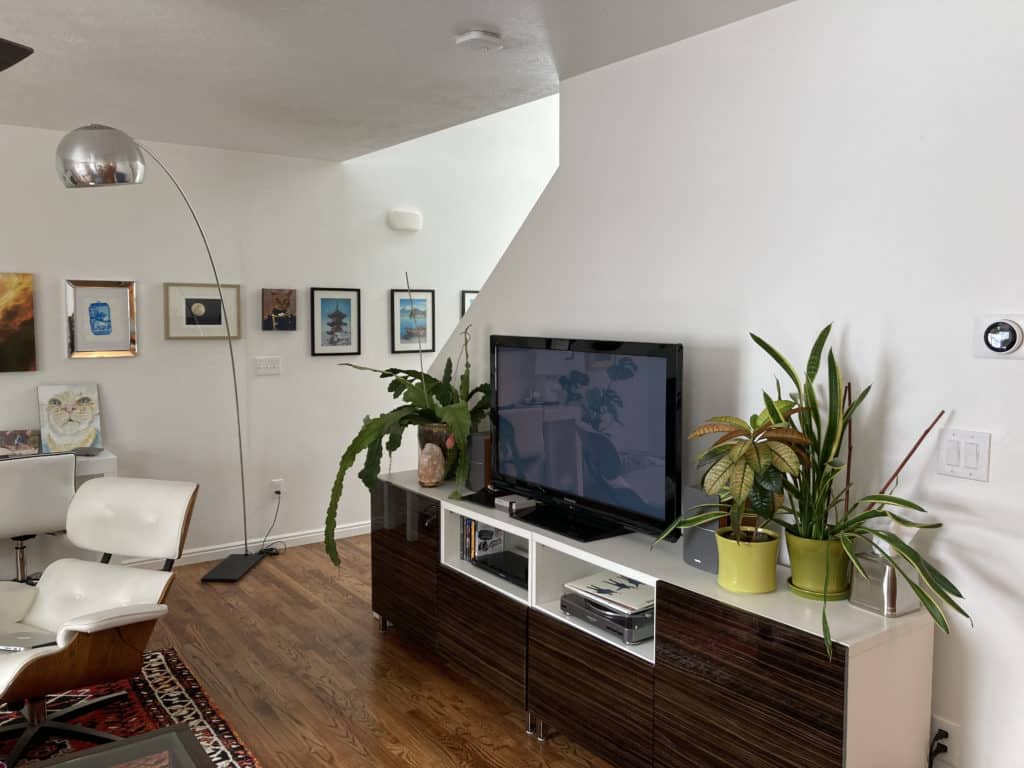
After eleven years in the house with stark white walls and orange accents, I’m moving towards patterns and greens–first in the bedroom, then in the bathroom, and now in the living room:

The before: (so stark!)

This was my second time hanging self-adhesive wallpaper and having some experience from the bedroom wallpaper helped a lot. I think it only took a couple hours of hanging time, plus trimming the edges and patching around one outlet (oops, good thing it’s hidden).

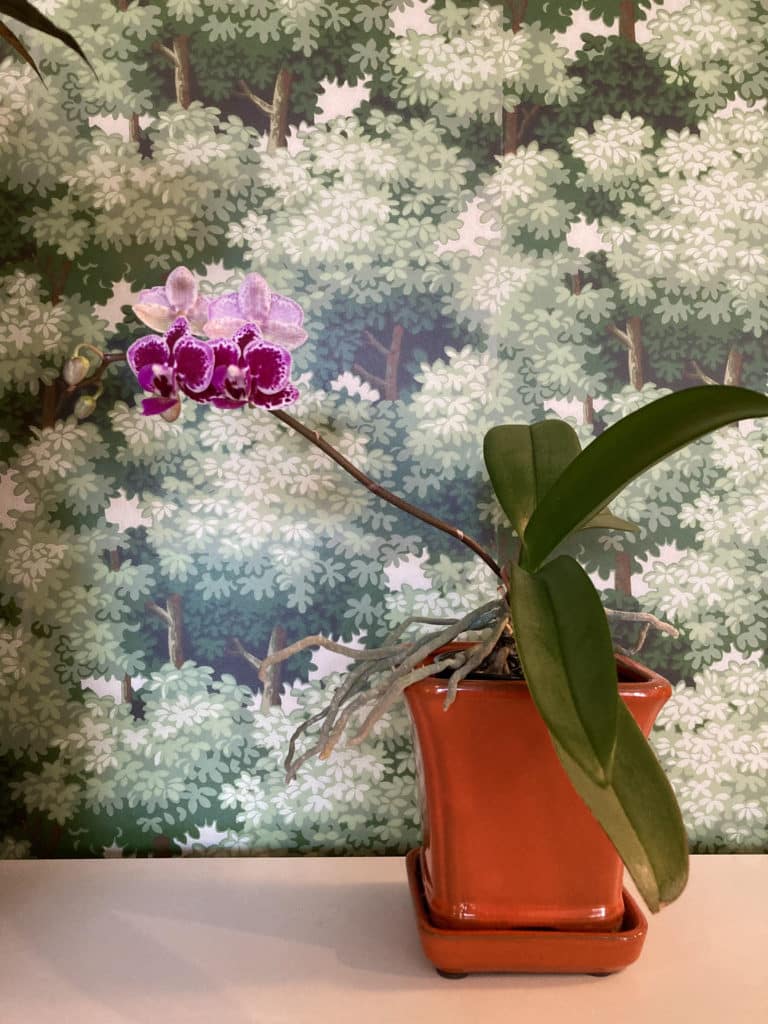
I love the print–it’s giving me Bloomsbury-meets-midcentury vibes. I bought it from the brilliantly-named Etsy shop WallHalla and…it had been sitting in the basement for three months, waiting for me to hang it. (Winter was tough.) So it feels good to have it up.