Last week I got an email from my health insurance that I’d earned rewards (for being healthy?) and gotten a digital gift card. I immediately spent it on a semi-professional rivet press because–with 5 pairs of jeans under my belt–I was tired of hammering in jean buttons. Behold!
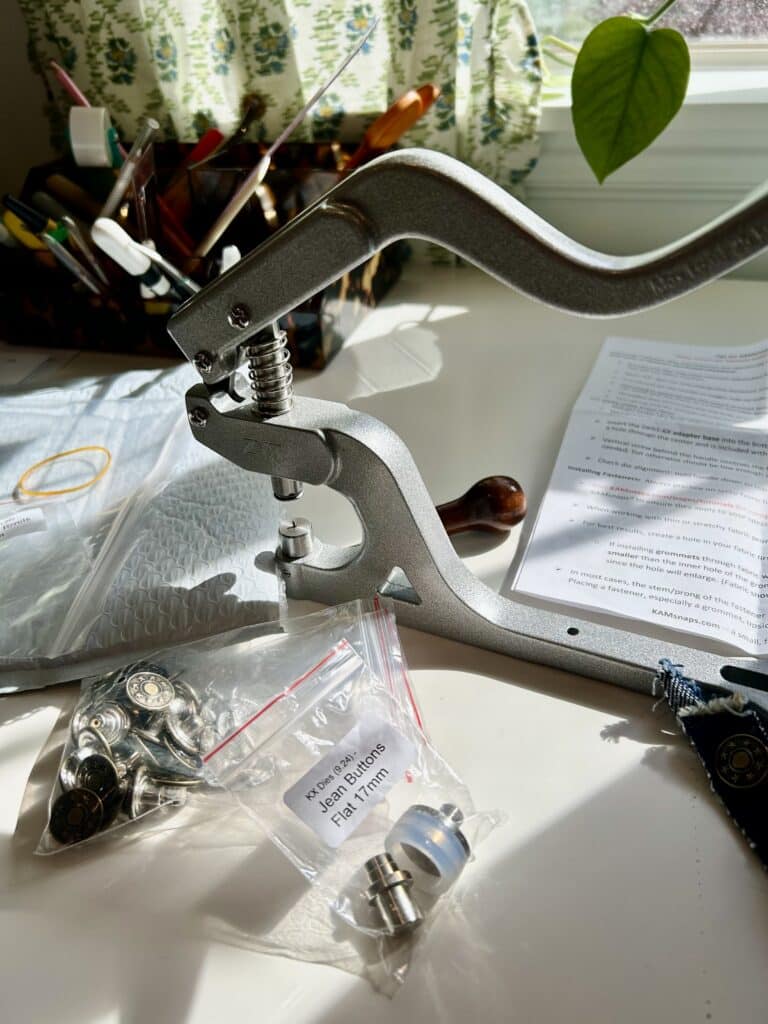
There are a lot of options for home table presses: Gold Star Tool, C.S. Osborne, the aptly-named GrommetMart, and my beloved KAM Snaps. I went with KAM because they had the best explainer videos/made it really clear what you needed, plus I’ve always had great results from just their hand press and plastic snaps.
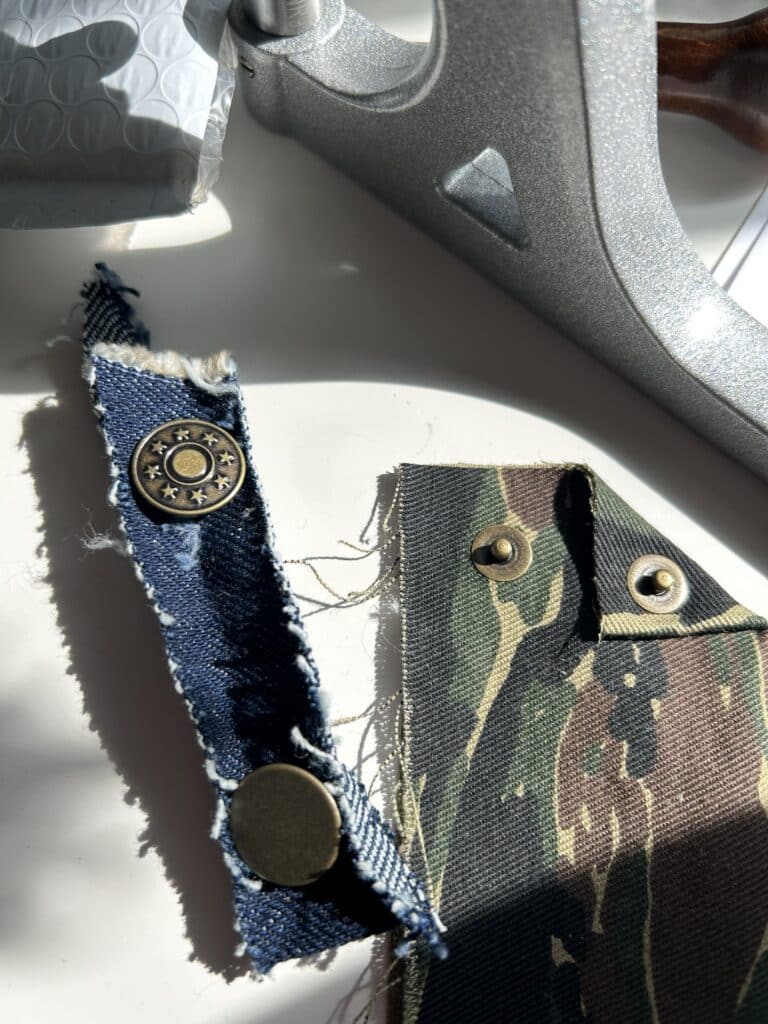
My test buttons and rivets went in like butter and I even tested a generic Wawak button and it worked fine! (My only hesitation with KAM Snaps was their limited metal colors–no classic copper–but now I can source hardware from the other places.)
PS – Here’s a deep dive on different jeans brands rivet types.