Daughter Judy Patterns put out their own spin on the traditional “Make 9” sewing community lists. Since I make a lot more than 9 things anyway, I liked this more thoughtful approach. Here are the prompts:

And here are my answers:
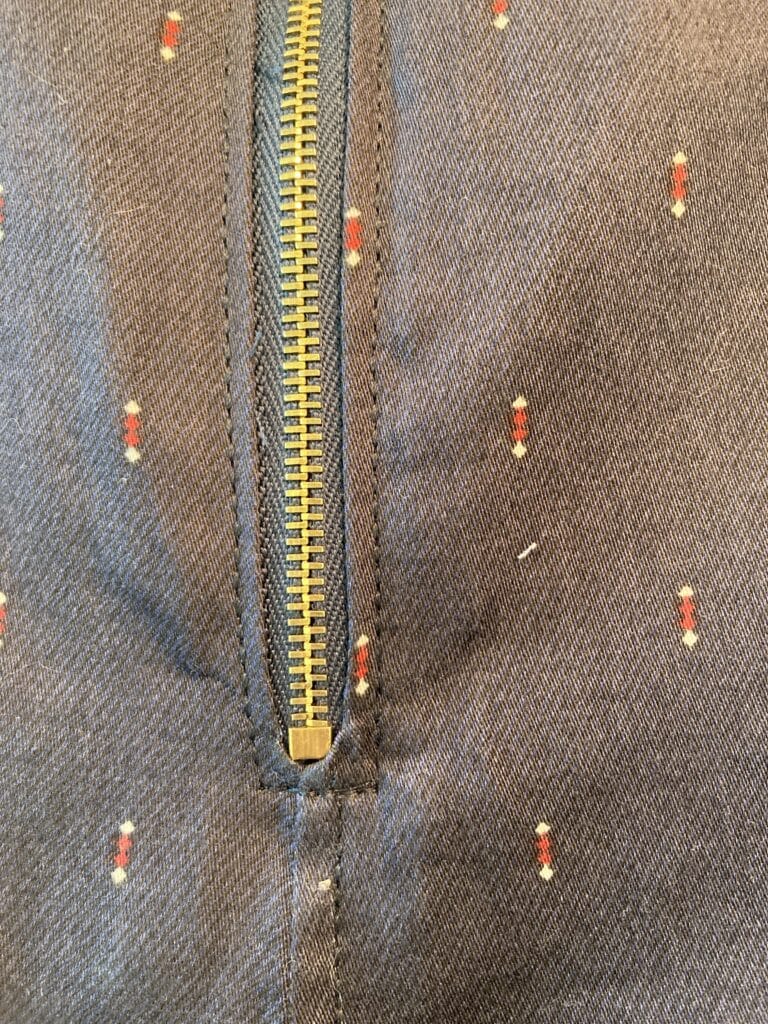
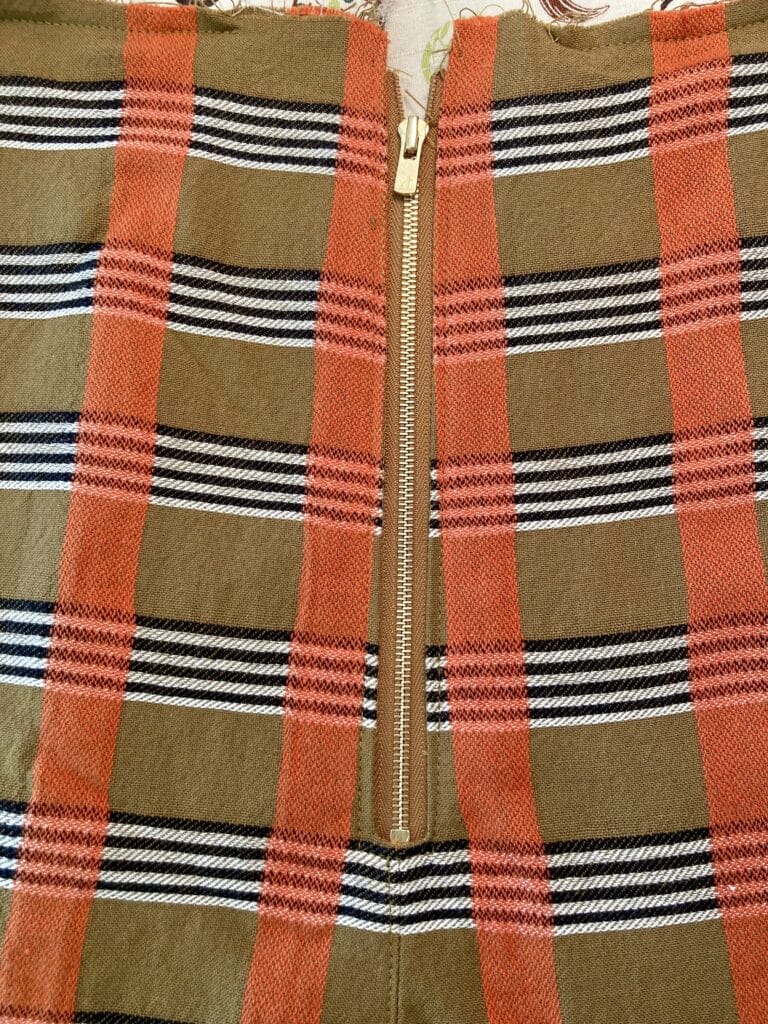
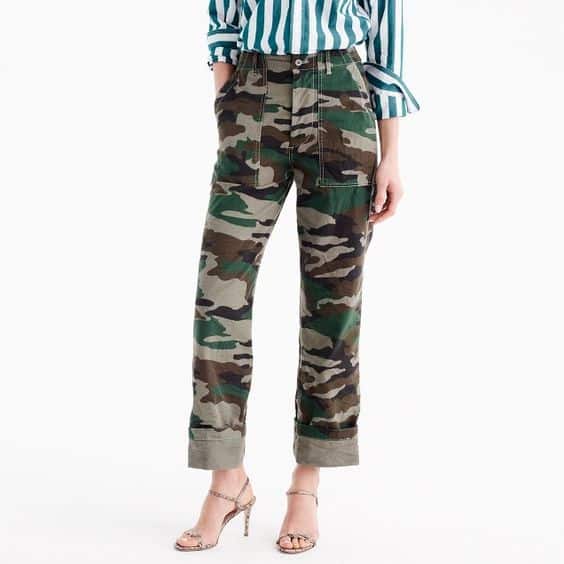
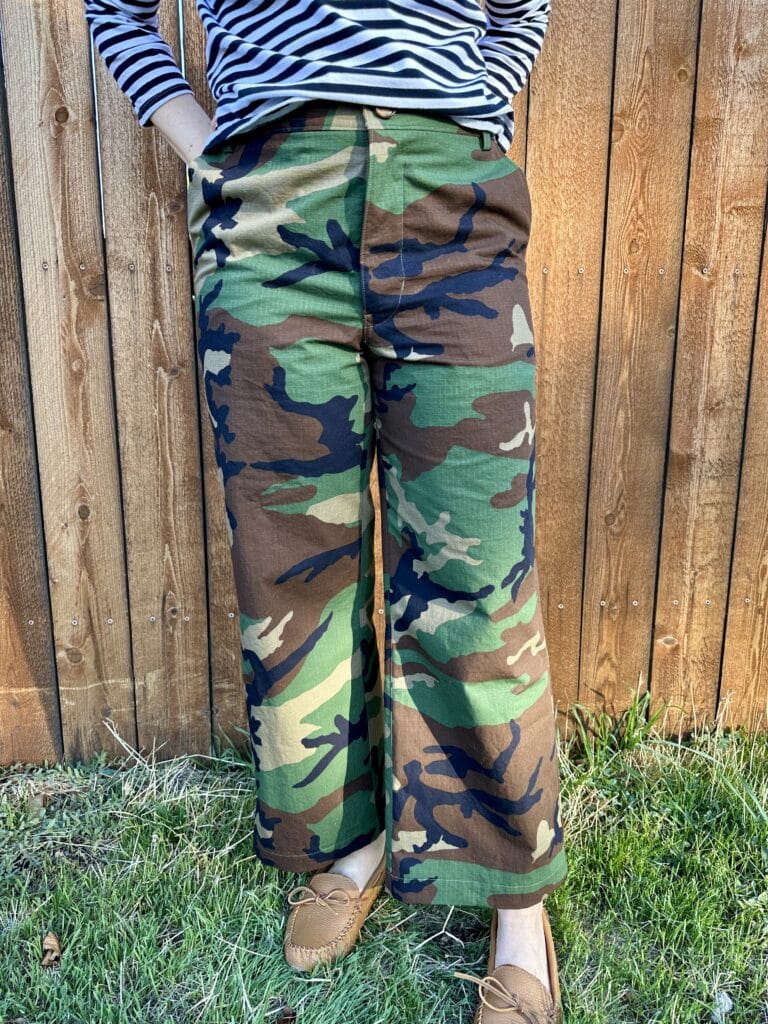
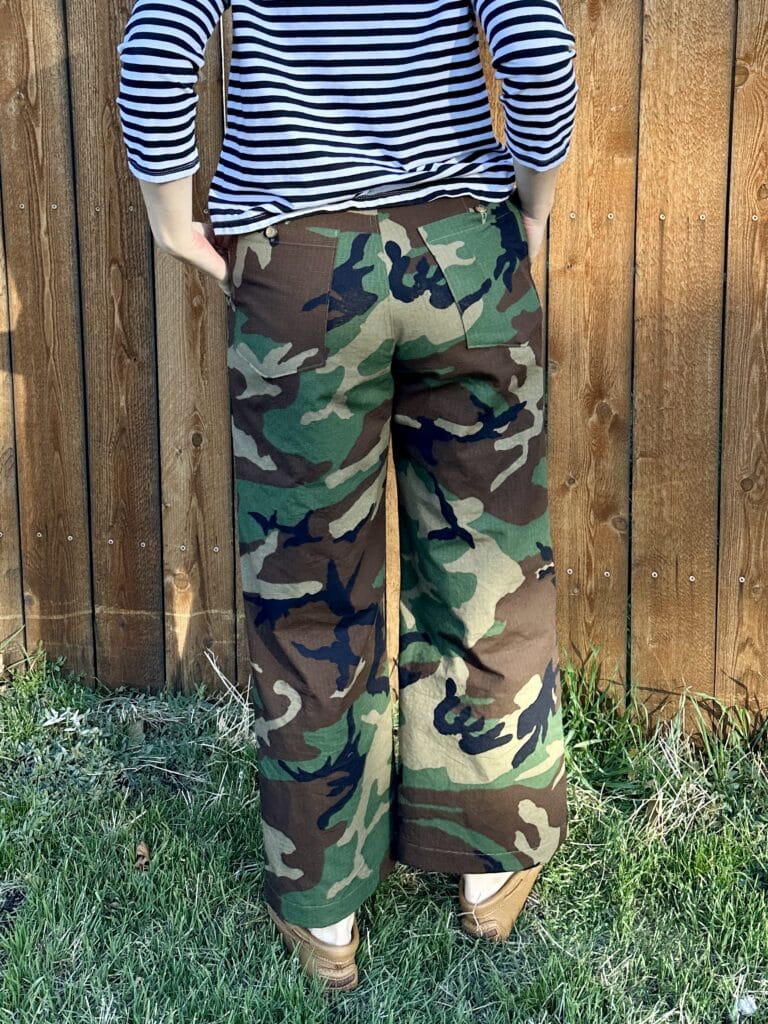
1. 2025 Color: I’m really into red–this image from J. Crew is a little more orange-red, which is a no-brainer, but a true red is speaking to me too.
2. Vintage Pattern: If I can track down a copy of DKNY Vogue 2958, I think it would look great in a red coating.
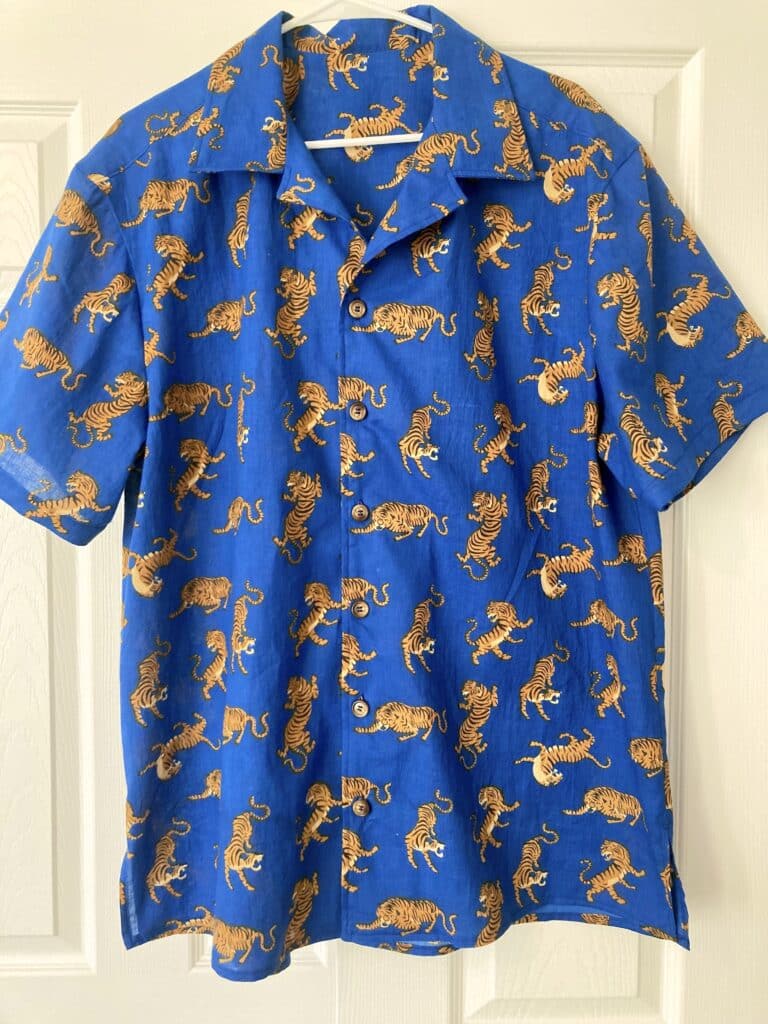
3. Skill Enhancer: I want to get better at hand sewing for tailoring/any hand sewing at all. I really hate it (I even have a Bernina foot to sew buttons on by machine) but you can’t get a perfect collar/lapel roll on jackets or coats any other way. Daughter Judy has teased a blazer pattern this year so maybe that will be when I learn.
4. On Your “To Knit” List: I’m really going to make that Gap-inspired sweater this year. I just ordered yarn!
5. 3 Personal Style Words: I think Colorful is self explanatory. Layered gets ignored a lot when I need to just throw something on after the gym for Zoom, but I want to get back into the habit–because that’s what makes me feel Cool.
6. Batch Sew Basics: I need bras, both for the gym and for home. The Greenstyle and Cloth Habit patterns I have work and lord knows I have enough knit scraps to use.
7. Pinterest Pin You Can’t Stop Thinking About: This picture of curator Thelma Golden. The coolness! The confidence! The colors and prints!
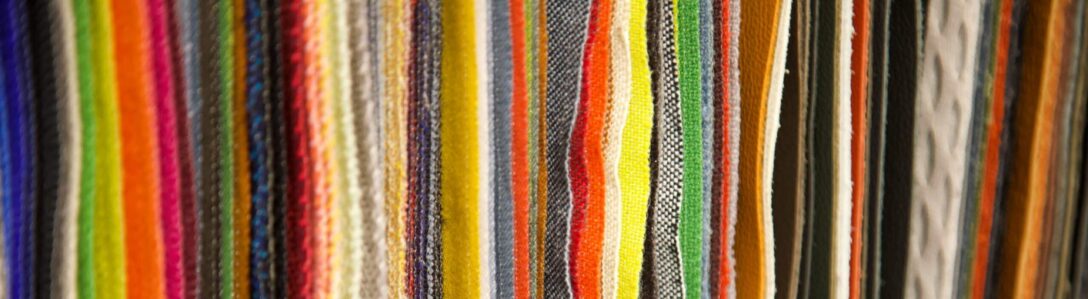
8. 2025 Mantra: I have SO much fabric that’s special or one of a kind, which makes me want to hoard it rather than use it up. But isn’t it better to enjoy it in my closet rather than on the fabric shelf? And isn’t my hoarding of it just based in fear (“What if I mess it up and can’t get more?”) anyway? This hobby shouldn’t feed my anxiety!
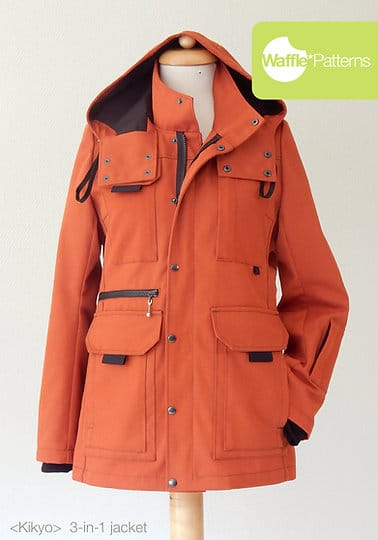
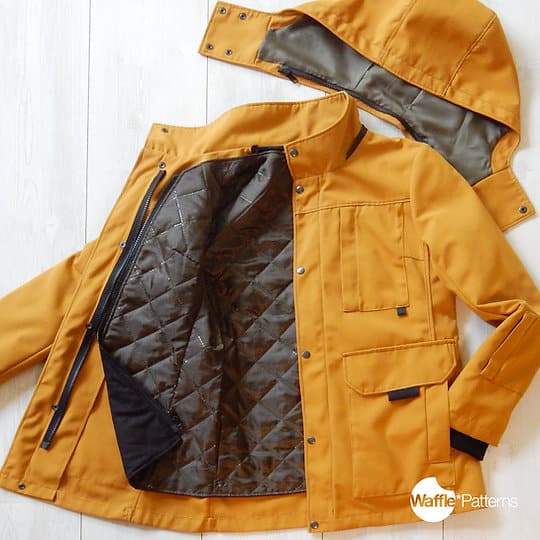
9. Take Your Time Project: I’m still marinating on this one but I could really use that Waffle Patterns 3-in-1 Kikyo Jacket I posted about.