Wednesday Book Arts: Souvenir Concertina Book

I impulse bought a tiny photo sticker printer after I saw my friend’s bullet journal on our trip, so then I obviously had to make a book to stick my photos in. I decided to try a concertina fold, which I learned is also called a Leoporello fold, “based on the manservant in Mozart’s Don Giovanni. At one point in the opera, Leporello unfolds a lengthy concertina list of his master’s conquests. ” (Gross! But I do love cool etymology!)

Other than the photo printer itself, I didn’t have to buy anything for the project: The cover paper is some that I marbled myself; the interior is just part of a big sheet of Fabriano I bought last year; and the elastic that holds it closed is from my lingerie sewing supplies (!).

I didn’t make a super-long concertina but this was just the right amount of space to document a weekend. I went more “junk journal” than “photo album” in aesthetic and included a stamp I got at the Oakland art supply and the envelope of scent samples from the perfume museum, too. (The back side is all pinball! And some stickers.).

I think the combo of tiny photo printer + bookbinding skills is going to mean more little souvenir books–this was fun!

Healthy AND Fancy

I had to get a set of five sheets of intaglio paper for my friend’s valet tray, so while I had the boards and glue out for that project, I made a big fancy box for the living room:

The inside is a classic Florentine fleur-de-lys and I had just the right red book cloth for the hinge. (Yay for buying an excessive amount of craft supplies, I guess.)

And what goes IN this big fancy box, you ask? A blood pressure monitor, of course.

My blood pressure got really high last year with the anemia (which makes sense, given the paucity of red blood cells to move oxygen around) so I started checking it daily. To remember to do that, it helped to have the monitor down in the main living area, but I hated looking at it, so: fancy box time. Now Doc is checking his, too, so Intaglio Box is getting a lot of use.

New Hobby Roundup: Paper Marbling!

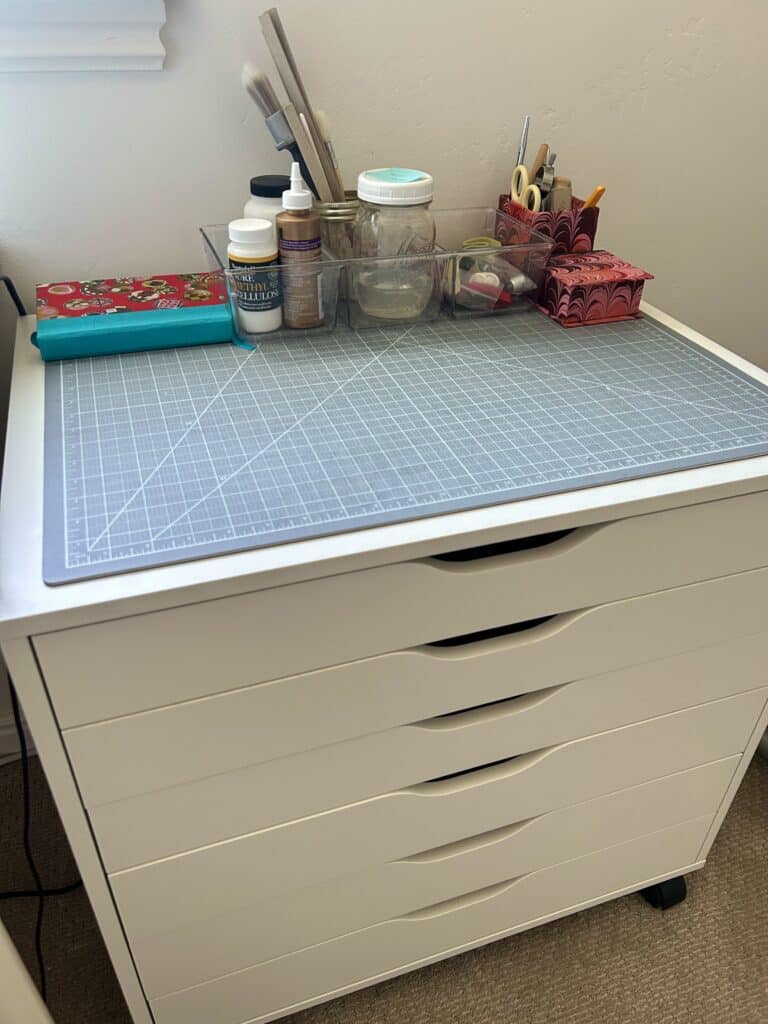
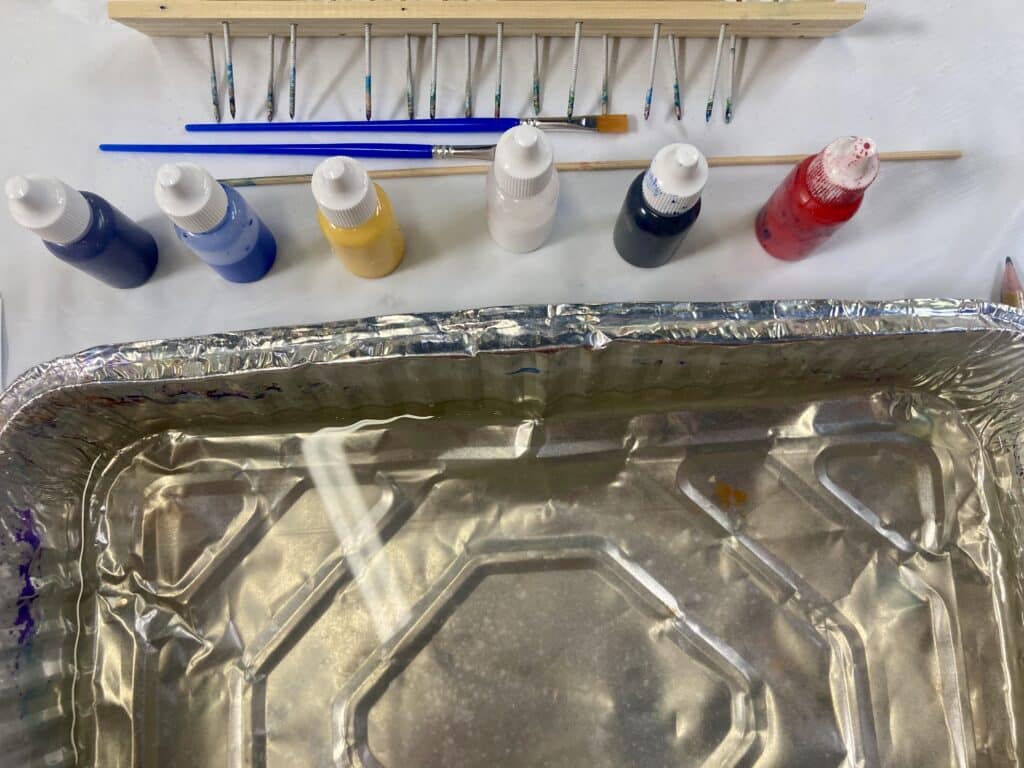
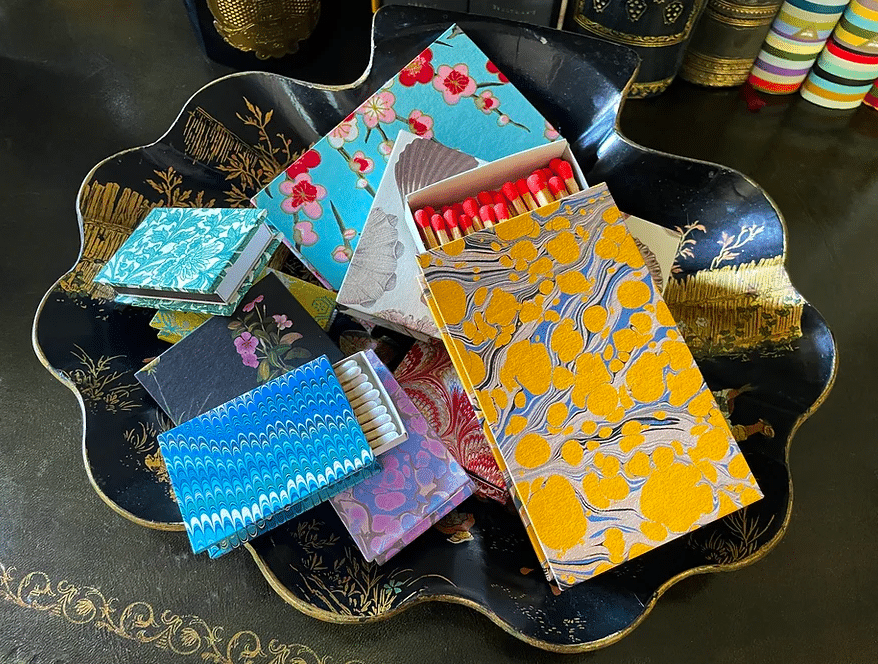
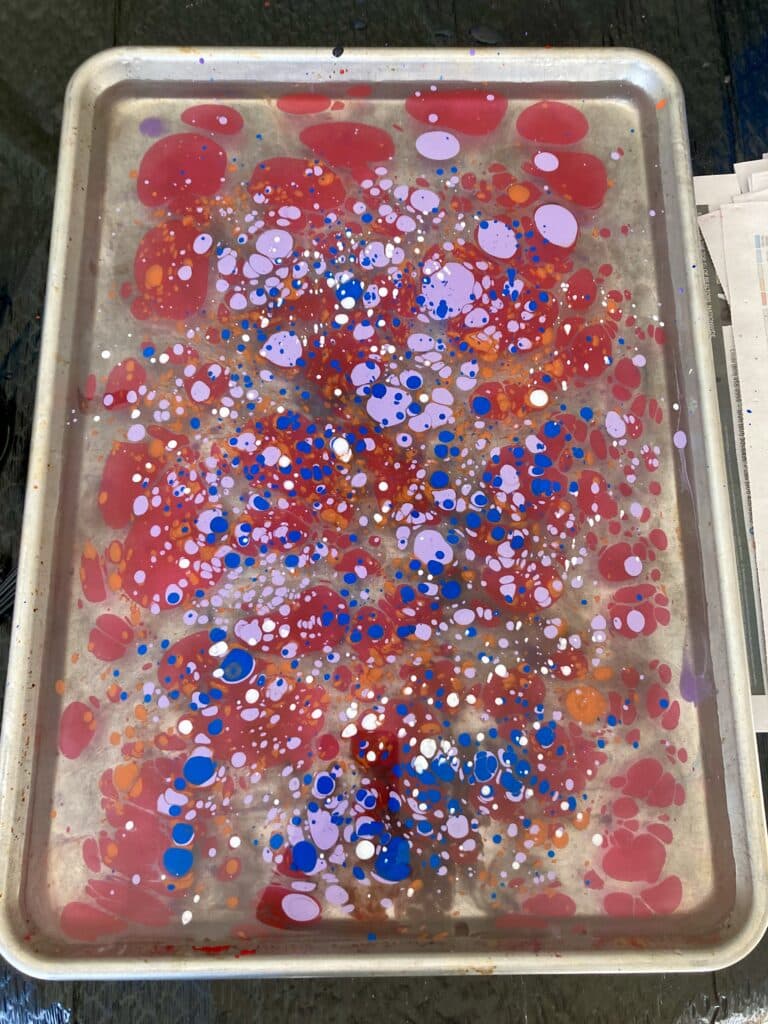
I finally caved and bought my own supplies to try marbling at home and wow, what a difference time and good materials make to the finished product:


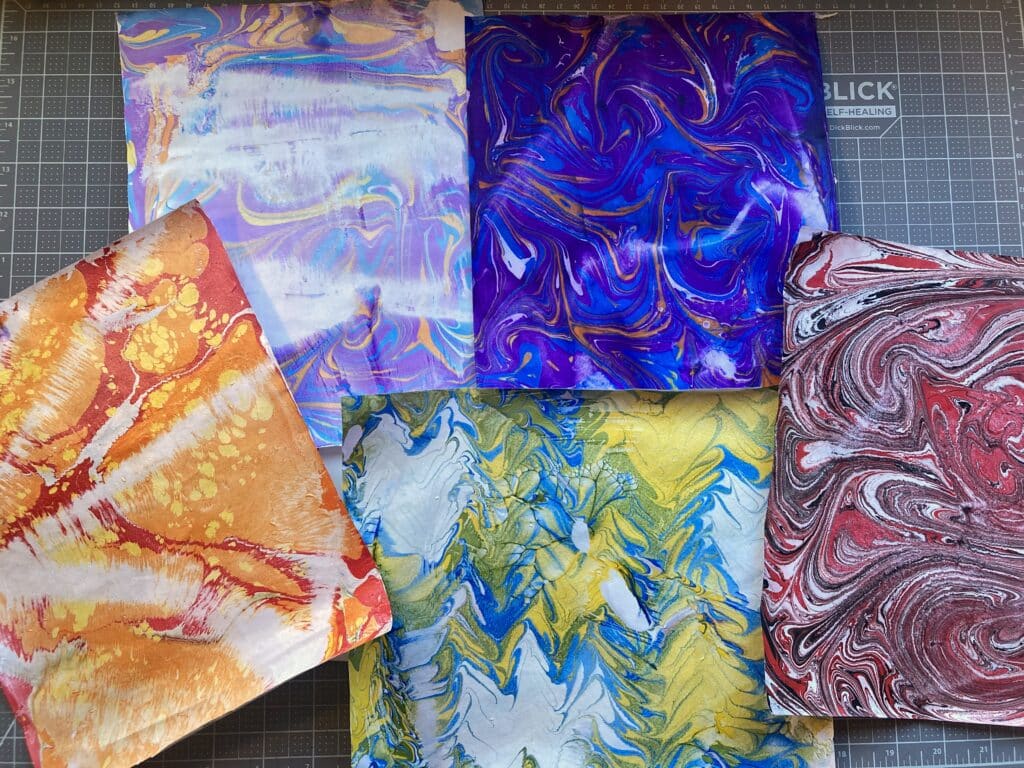
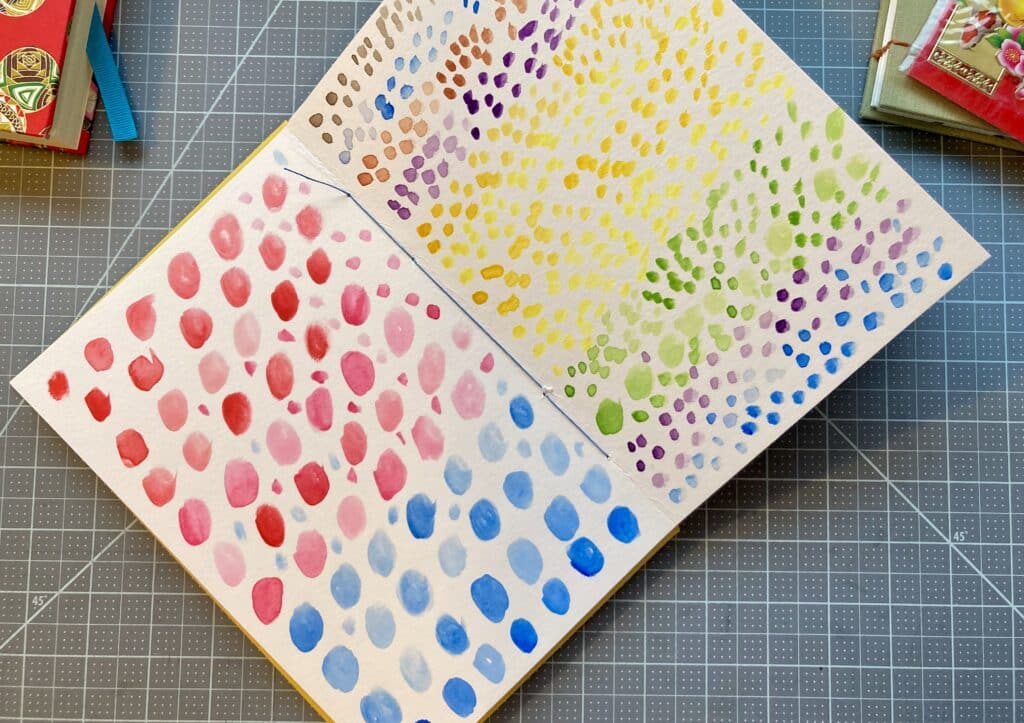
I did have a grasp on the basic process already from the class I took in June, but the results at home are so much better–the colors floated perfectly and stuck to the paper just fine.

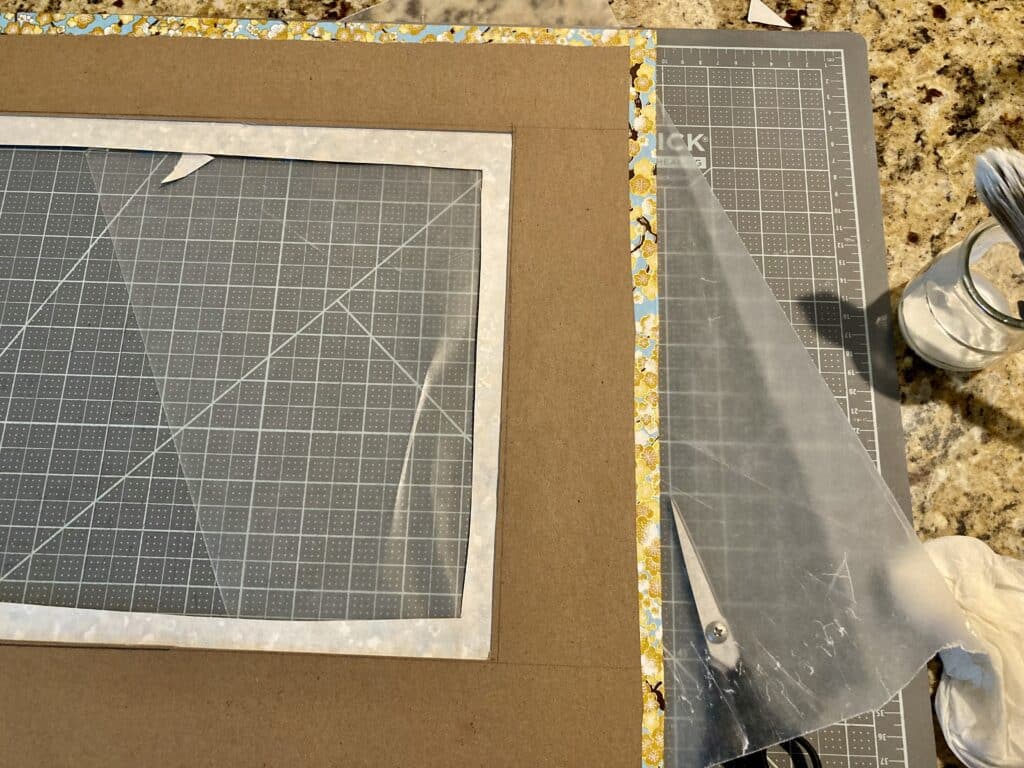
(Not shown, using the comb to make the non-pareil pattern, because that takes two hands.)


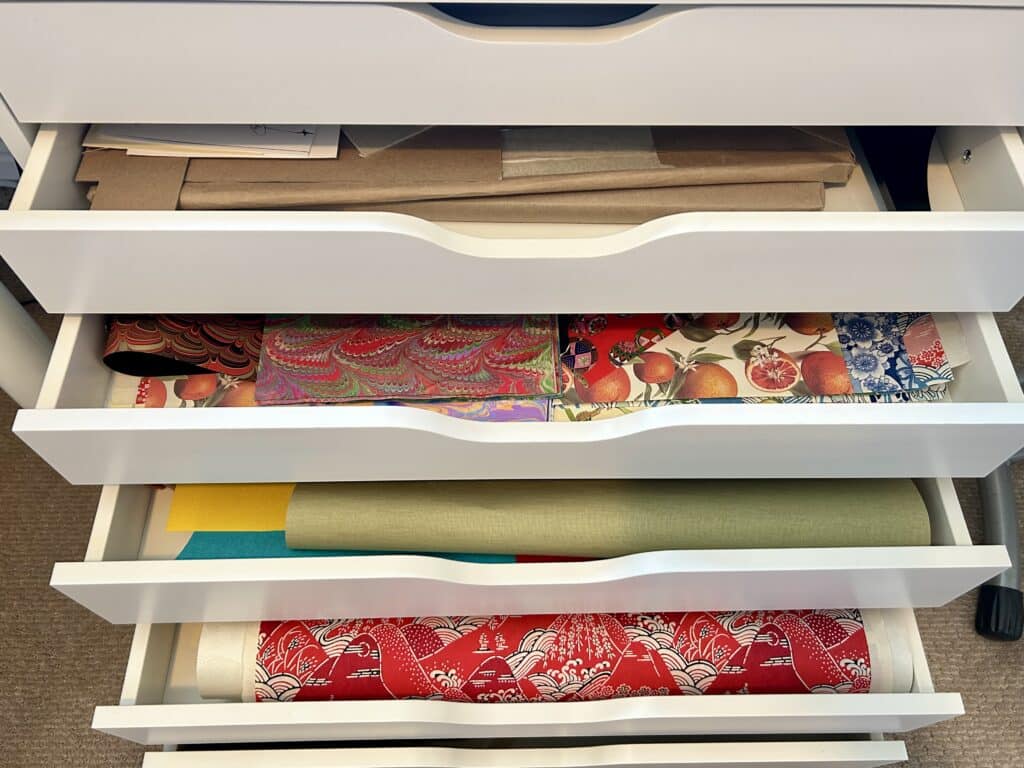
I printed 12 sheets and got 8 that I really like, but none of them were flawed because of the supplies, just beginner printing errors. I highly recommend the supplies from Galen Berry, aka MarbleArt. I got his paints and instruction book from Hollanders but I think they’ve stopped carrying the full line–I had to get the carrageenan and alum and a comb straight from the MarbleArt site (via sending an email, lol).


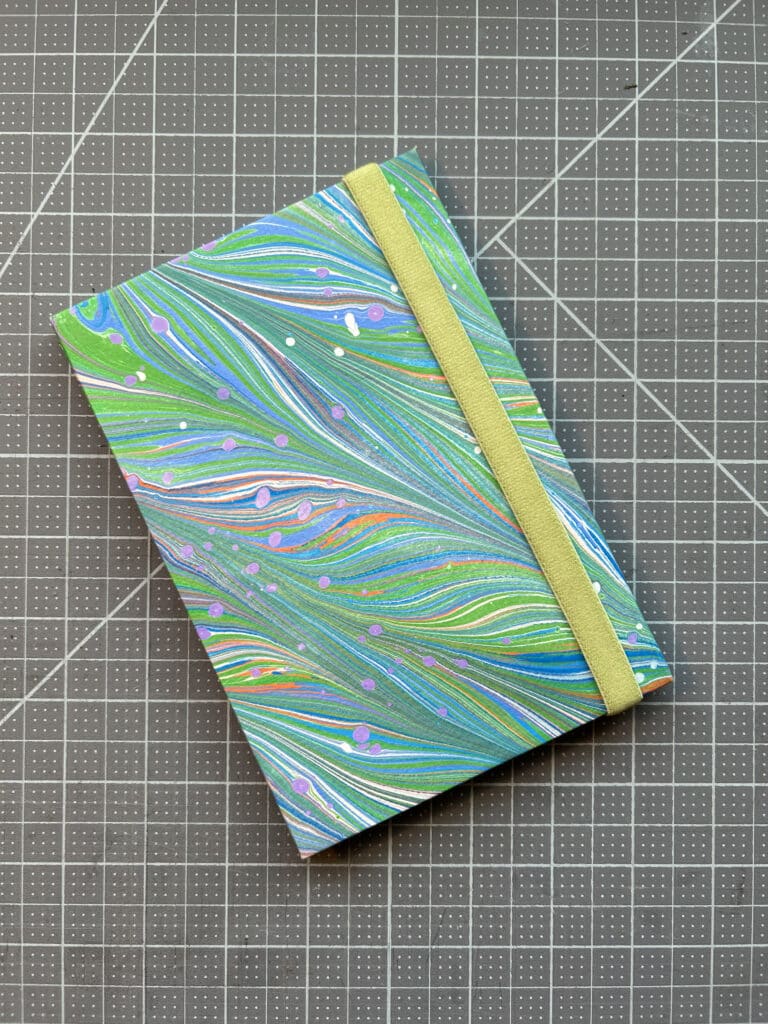
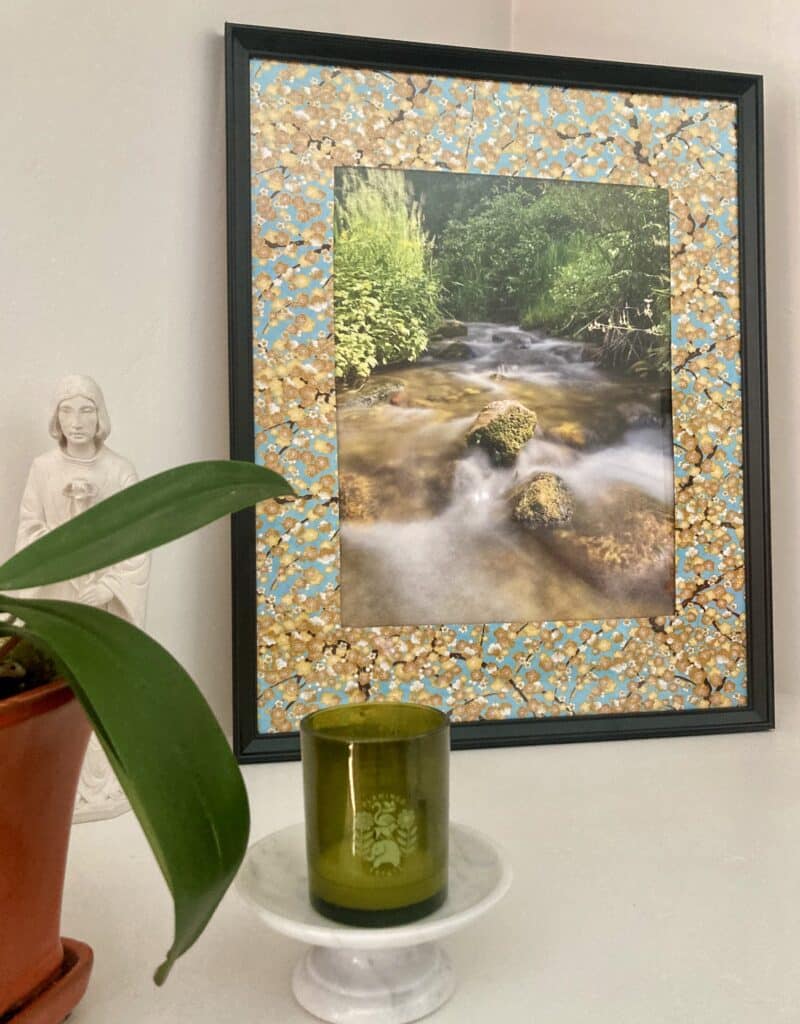
I make a lot of things and I’ve been doing a lot of my hobbies for a long time, so I don’t get the “I can’t believe I made that!” feeling very often. But look at this! I can’t believe I made that.

Covering Household Objects In Paper

I had a picture that didn’t quite fit the mat that came in the IKEA frame. I also had a stack of bookboard and decorative papers. So I cut my own mat and covered it in paper and now there is even more pattern in the living room. Win-win-win.

What should I cover in paper next? A tissue box cover? The frame itself?

Book Arts Wednesday/Dilettante Update: Paper Marbling!

Last week I took a paper marbling class at the same place I took my first bookbinding class, aka The Class That Launched a Whole New Hobby to Shop For. I don’t think paper marbling will be any different, honestly.

It wasn’t the best class–the instructors weren’t all that great at diagnosing issues and defaulted to cheerily saying “It’s a temperamental art!”–but it was good to get an idea of the physicality of it before I splashed out on supplies of my own. And there’s so much info online! As you can see on the papers on the left, my paint stopped sticking to the paper. The class instructors were stumped, but one search got me to a Reddit thread that said the paint probably wasn’t diluted enough. One more search taught me the right way to do a non-pareil pattern (what I was going for with my green-and-blue sample): You have to zig-zag it before you comb it, something the instructors either didn’t know or skipped.

But again, as a way to try something to get an overview of the basics, it was a fine class. Have I spent lots of time reading about marbling online? Yep. Do I have a list of items I want to buy to try it again? You know it.

Wednesday Book Arts: Using Up Paper Scraps

I never would have thought to cover little matchboxes in bookbinding papers but I saw a blog post from Parvum Opus (great inspo for fancy little paper-and-glue objets) and had to try it.

Parvum Opus originals


Just cover two boards 1/8 inch bigger all around than your matchbox, then glue them to the box. (It’s not hard, but the blog post gives you the details if you need them.)

Blammo, now you have fancy little matchboxes! If I ever give anyone candles, this would be a nice addition. (Do I need to try candle making next???)

Coptic Bound Sketchbook

I tried another notebook with Coptic binding and … my first attempt was actually better. The tension on this one is somehow both too tight at the back cover (where you start) and too loose at the front cover and that throws the covers out of alignment. I’m not sure what happened–other than, you know, being a beginner at something (which is perfectly ok!!)–but I did use thinner thread this time. Maybe that did it?

Regardless, I had a good time making mismatched covers and using contrast endpaper and the book still holds together well enough to be used as the sketchbook for that mark making class on Creativebug.


And it’s definitely mark making, not drawing or anything beyond lines and shapes. Which this dilettante approves of! Taking five minutes a day to try out different media and havng an excuse to buy a little watercolor set? Yes please.

Trying Coptic Binding

I attempted my first all-sewn binding, meaning no glue is used to attach the pages to the covers. (I did use glue to put bookcloth onto the covers, though; we’re not savages.)

I watched the sewing part of this video once before starting and then followed along with it to do the actual sewing, but you can see only the middle line of stitching is making a nice braid pattern. But it holds together and opens entirely flat, which is the point of this style of binding.

I can’t resist a contrast end paper but I think the classical bookcloth-and-Florentine-paper combo is fighting with the vibes of the Coptic binding–it’s definitely a more primitive look, which makes sense if it developed in the second century CE.

But it looks and acts like a book, so it was a successful trial run. I’m going to try making another one using Bristol board for the pages and use it as a sketchbook for that Creativebug class I want to take.

New Year Planner

Over the last six-ish years, I’ve moved from a gridded bullet journal to the ready-made Leuchtturm weekly planners. (Of course I still use a paper agenda; you never know when you’re going to need to whip it out and take notes about something.)  Now that I know how to bind books, though, I thought I’d move back to a gridded bullet journal for 2024–one I MADE MYSELF:


Yet again we can thank Hollanders for this project: They have unsewn graph paper signatures, which come already folded and grouped. Unlike their ready-made text blocks, though, I did have to sew the signatures together:
(That black linen thread is giving off Frankenstein’s notebook vibes, but it’s what I had on hand.)


But the best part about making your own text block? You get to add DECORATIVE ENDPAPERS! Imagine the print mixing possibilities. I added endbands, too, because always add more pattern:


I also put in a pen loop, just sewing a loop into foldover elastic and tucking it between the back cover board and the endpaper.


I’m in love with the cover paper–mountains and colors, some of my favorite things. It’s katazome paper (bought here) which is stenciled and resist dyed, vs the chiyogami paper I’m more familiar with, which is silkscreened. Either way, it’s great and I wish it were available on fabric, too.

New Hobby? Make Some Gifts!

The family didn’t escape getting bookbinding presents–Altair got a gardening journal and Skyler got a photo album. Both were quick projects because Hollanders had the text blocks ready to go.

I was pretty pleased with the casing-in on the garden journal. I’m sure it helped that I practiced with mine but this is my best job yet:

I didn’t get a good picture but I put in a loop of foldover elastic between the back cover and end paper to hold a pencil, and then I tried covering a pencil in matching paper for good measure (extremely fun and easy; everyone almost got a bunch of pencils, too).


The photo album needed a “hollow back tube” binding style, which I hadn’t done before. It definitely turned out as instructed, but it’s not the cleanest job (the tube got a little creased on the side).

But it works, and this was an ancillary gift anyway. Skyler’s in the Civil Air Patrol, so I went with their colors in case he wants to do an album of his flights or something.